Table of contents
Open Table of contents
Quick Summary
#TLDR
While preparing for OSCP, I discovered that NetExec was failing to authenticate valid credentials via WinRM, while Evil-WinRM succeeded. The root cause was the NTLM "Workstation" field: NetExec was sending my local machine’s hostname, which triggered failures on accounts with Active Directory "Log On To" restrictions. The fix involves dynamically spoofing the NETBIOS_COMPUTER_NAME environment variable to match the target.
It took me a full day (plus a few hours the next day) to find that the fix is as simple as this one line below xD
export NETBIOS_COMPUTER_NAME=""
which I later fixed internally in the NetExec script and made a pull request.
-
View the Pull Request: My Merged Pull Request
-
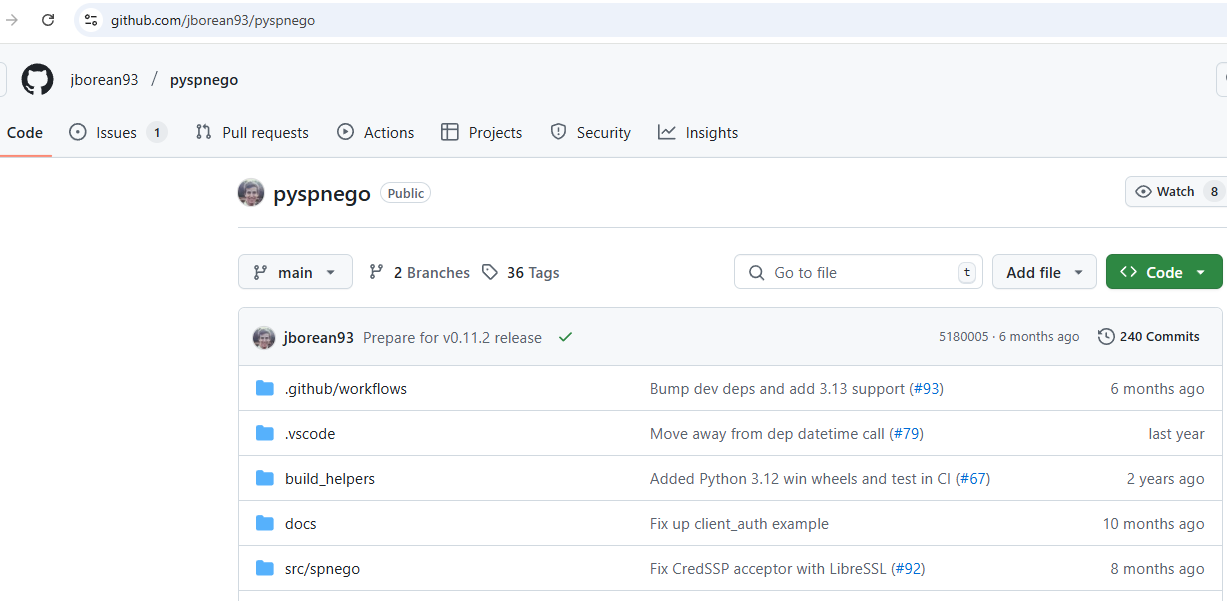
The Tool: NetExec on GitHub
If you only want the solution, you can have a quick look at the pull request and stop here. If you’re interested in the full troubleshooting journey, including my thought process, failed attempts, and technical details, keep reading.
Introduction
#Introduction
During my OSCP preparation, I relied heavily on tools like NetExec for credential validation and enumeration.
One day, while working on an OffSec challenge lab, I noticed something strange:
-
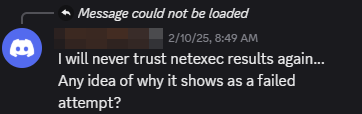
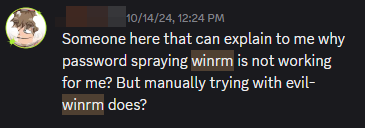
NetExec reported valid credentials as failed
-
The same credentials worked perfectly with evil-winrm
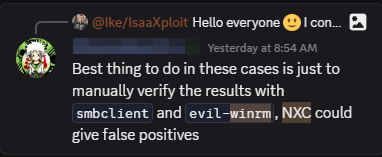
At first, I assumed it was just a tool limitation. On the OffSec Discord, many students were experiencing the same issue, and mentors usually reminded us:
"Never trust one tool. Always verify."
While that’s good advice, I love NetExec. Instead of abandoning it for the challenge, I decided to dig into the code, find the bug, and fix it. Why just avoid trusting our tools when we can improve them?
This blog documents the full technical journey that led to identifying and fixing the issue.
The Anomaly: “Identifying the False Negative”
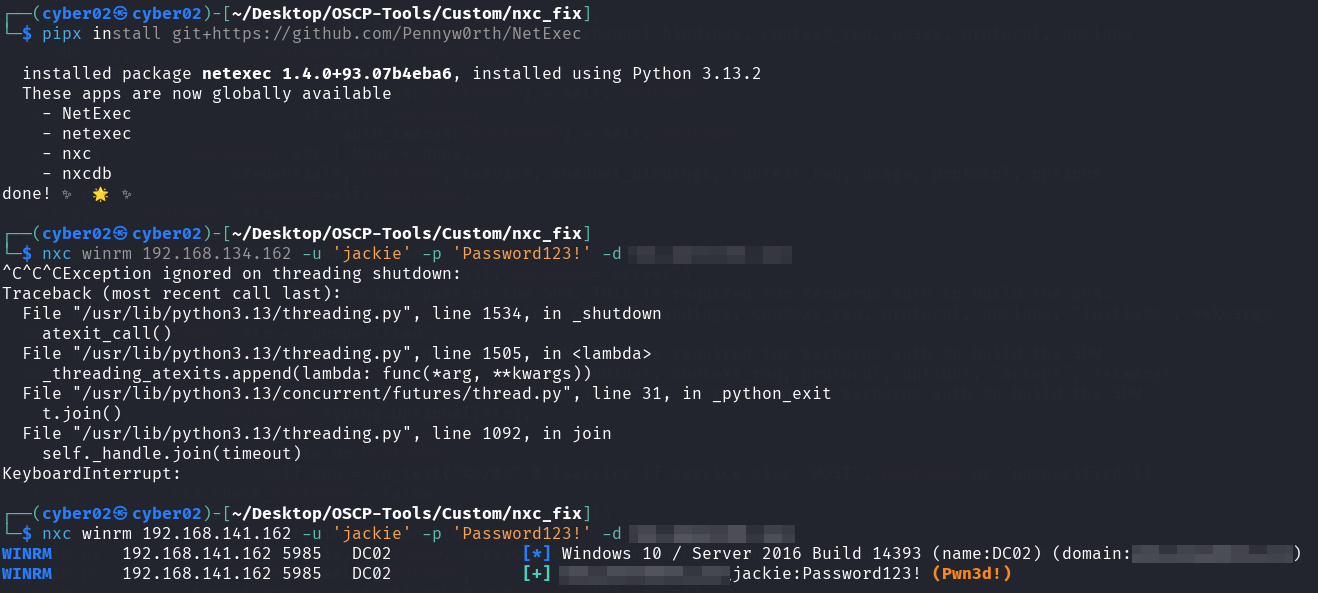
It started during a standard OSCP challenge lab. I had harvested user credentials and, adhering to good opsec, I wanted to verify them before attempting an interactive shell. I fired up NetExec (formerly CrackMapExec), my go-to Swiss Army knife for Windows networks.
nxc winrm 192.168.x.x -u 'User' -p 'Pass123'Result: [-] (Failed).
This felt wrong. I was confident in the credentials. To verify, I switched to Evil-WinRM, a tool written in Ruby.
Result: *Evil-WinRM* PS C:\Users\User>. Immediate Shell.
I checked the OffSec Discord and found similar complaints. Students were seeing false negatives with NetExec and were being advised to “never trust just one tool.” While valid advice, I didn’t want to just work around the problem. I wanted to know why two tools using the same protocol yielded different results.

Phase 1: Source Code Forensics
#source_code_analysis
I began by comparing the authentication logic of both tools. If they both speak WinRM, where do they diverge?
- Analyzing Evil-WinRM (Ruby)
I started looking around the netexec code to see why it is behaving like this, and the good thing is that I have a working reference which is evil-winrm, I started by going to the evil-winrm source code and seeing how that works
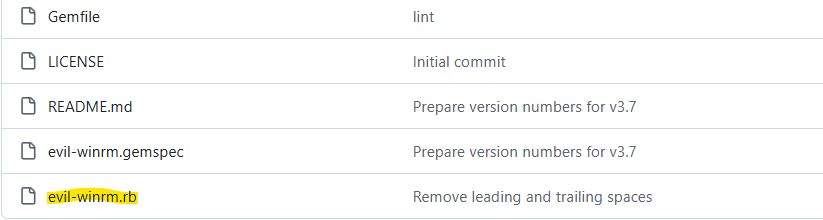
pretty much all the code logic was here, so I dived there
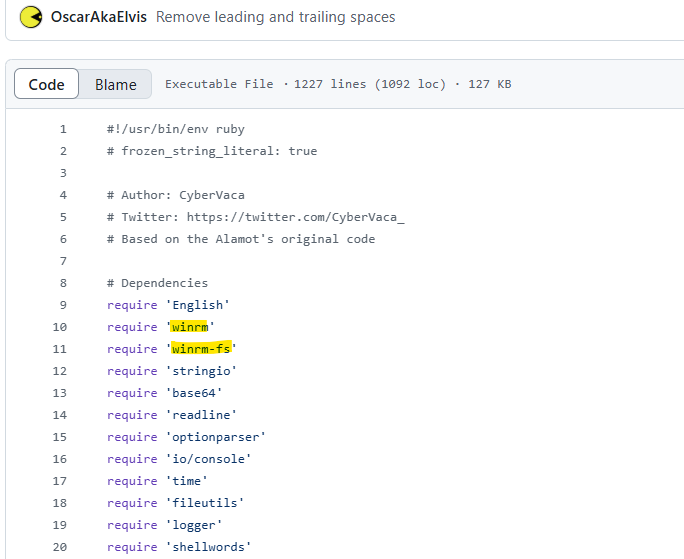
what’s interesting here were those 2 libraries related to winrm.
so I checked how those were used
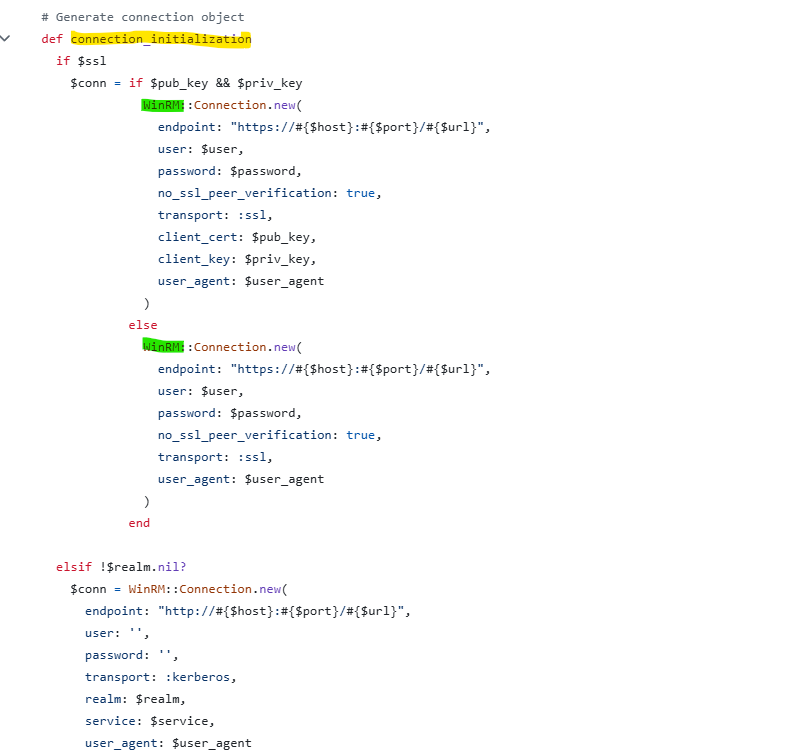
and I found this connection_initialization function, which is the one connecting to the server, where I found the WinRM library referenced with its connection function
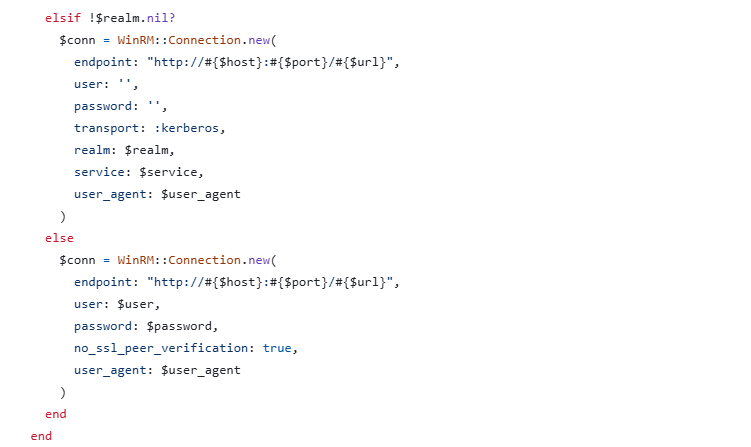
I was looking mostly at the arguments, I thought that evil-winrm is using a different authentication protocol, but turns out both evil-winrm and netexec used the same Negotiate protocol, which is a wrapper for both NTLM and Kerberos, it starts with NTLM then moves to kerberos in the case of any problem.
Then I moved on to netexec source code to look for the authentication mechanism, but before that I wanted to create my own password sprayer with ruby and see if it works, at least I can have a second tool for double verification over netexec spray
- Custom Credentials Sprayer Creation
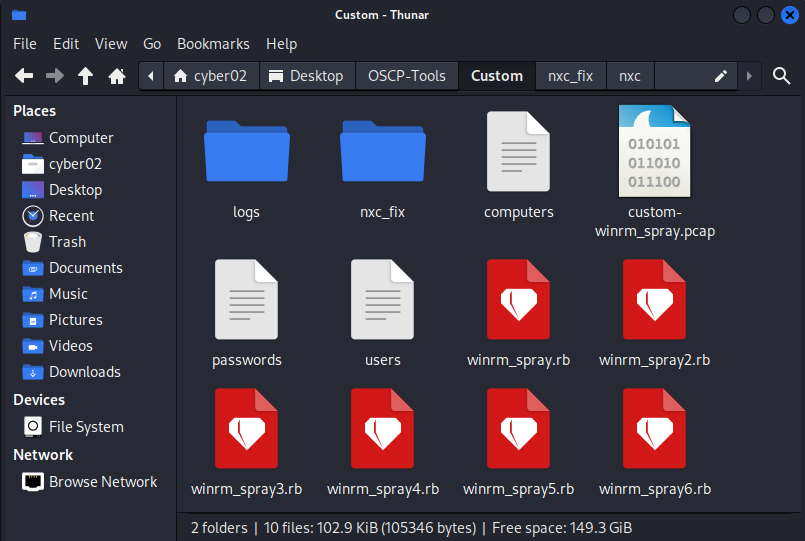
And I created different versions, but the script worked fine! so I have a backup, I then moved on to checking netexec code.
- Analyzing NetExec (Python)
I shifted focus to NetExec’s architecture:
-
Entry Point:
nxc/protocols/winrm.pyhandles the CLI arguments. -
Connection: The
create_conn_obj()function initiates the session. -
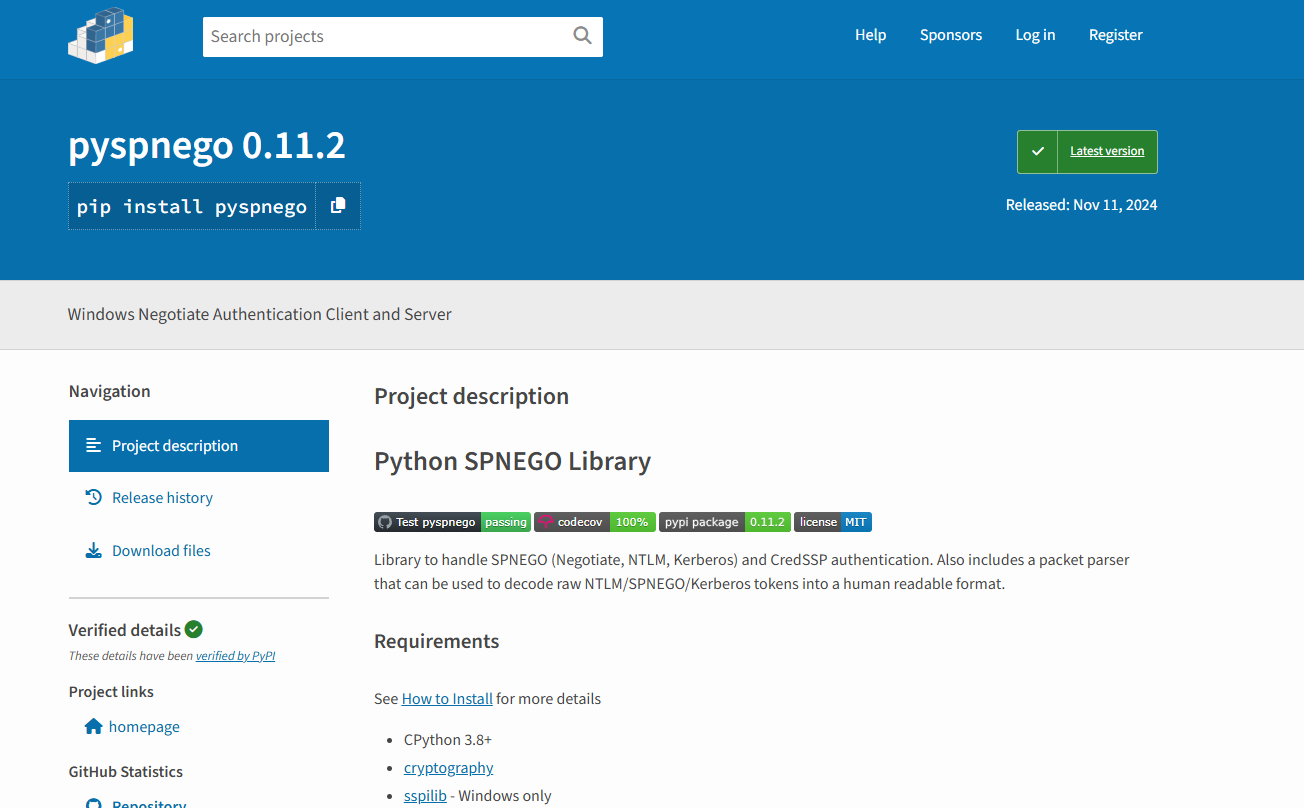
The Chain of Dependencies: NetExec doesn’t implement the low-level handshake itself. It imports
Clientfrompypsrp, which in turn importsspnegoto handle the authentication context.
So the stack is: NetExec —> pypsrp —> spnego —> ntlm-auth.
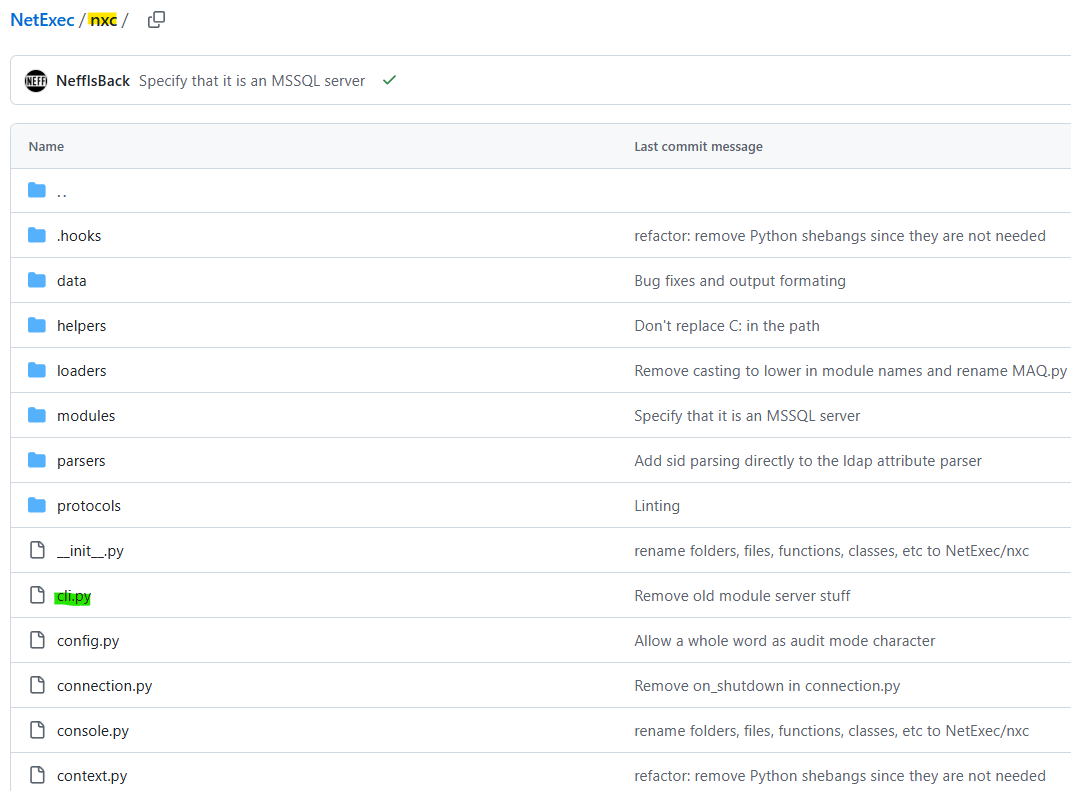
Everything is in the nxc folder, where we also have the argument parser for netexec in a separate file cli.py
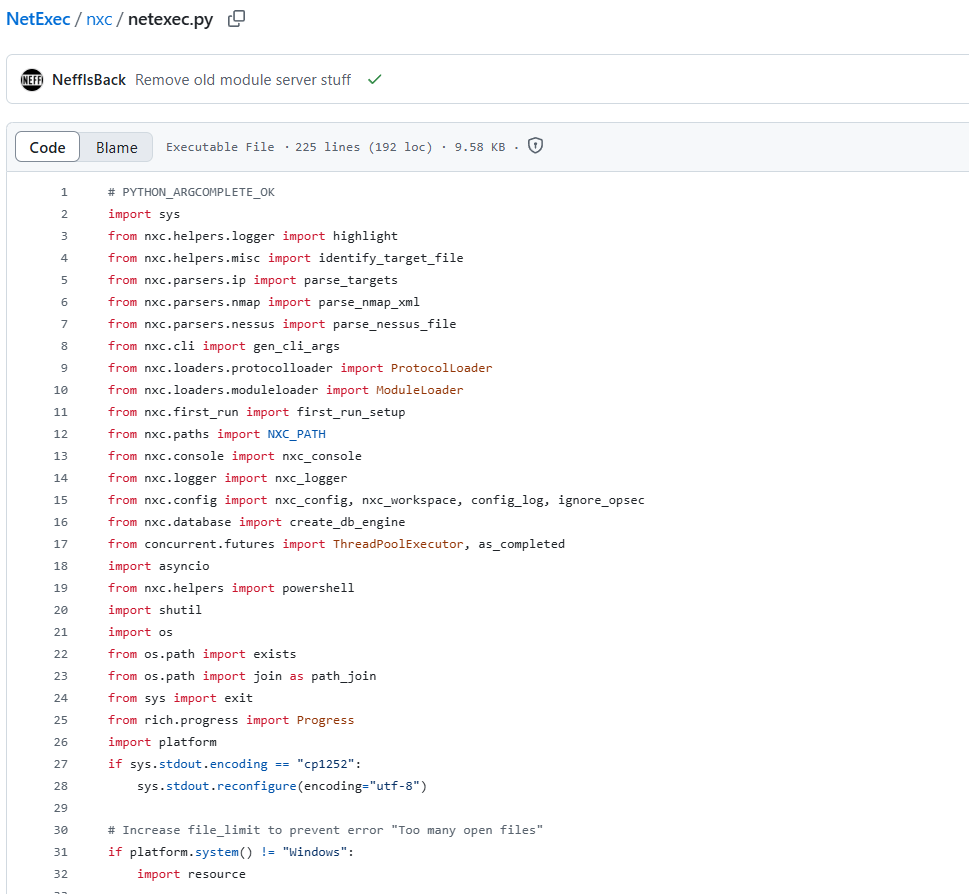
netexec.py itself was just parsing arguments and initializing a database for logging sessions and all so nothing about winrm was here.
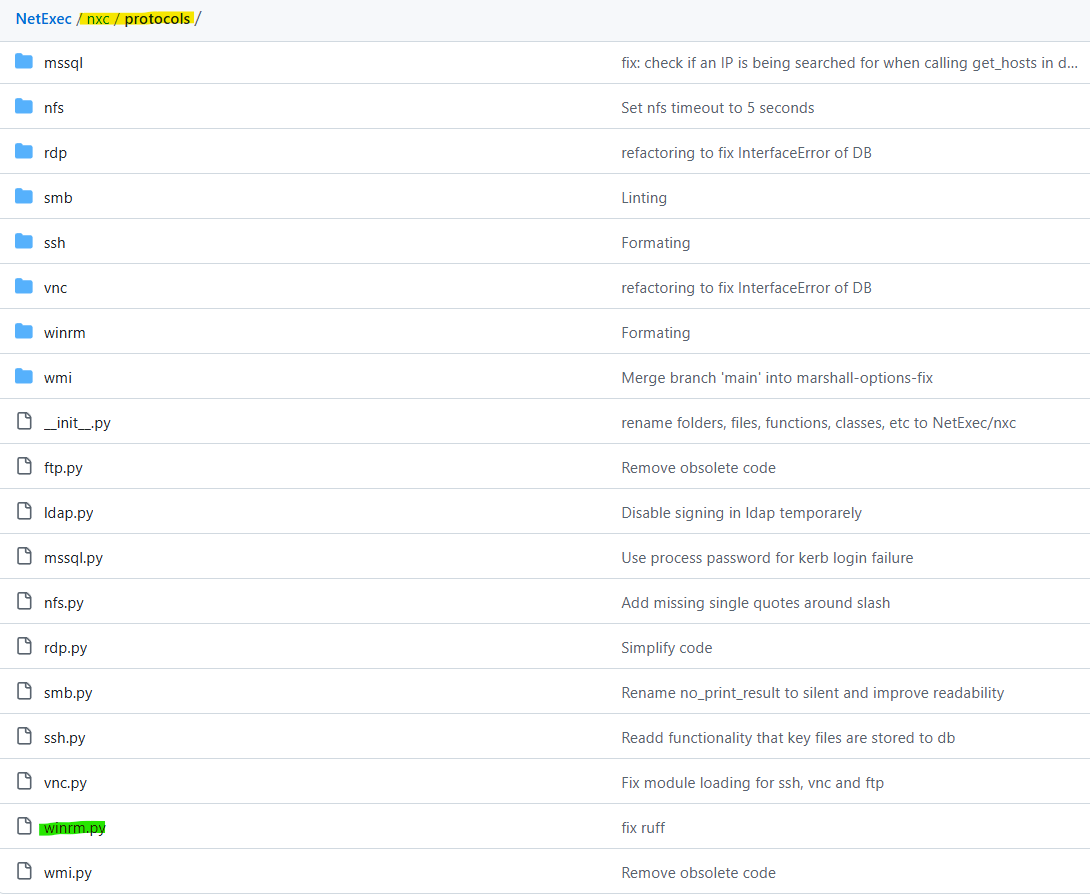
but we find the winrm implementation in a winrm.py file which is called when we use nxc winrm, the file is inside the protocols directory.

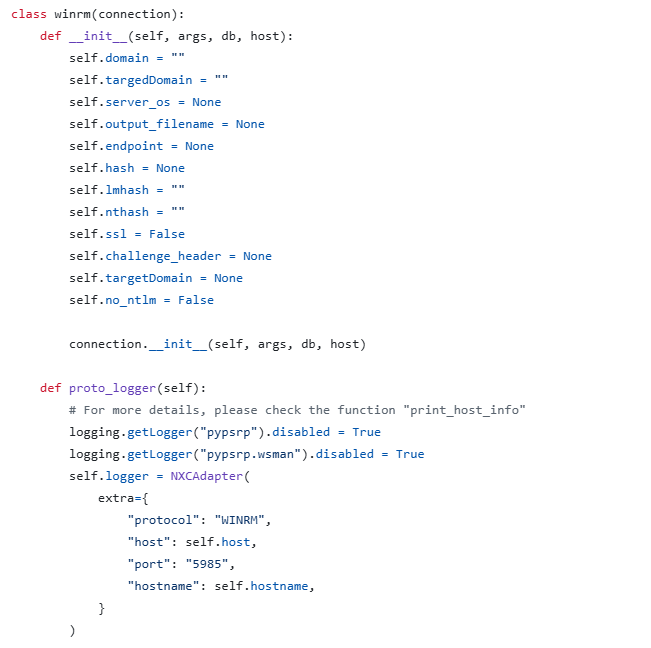
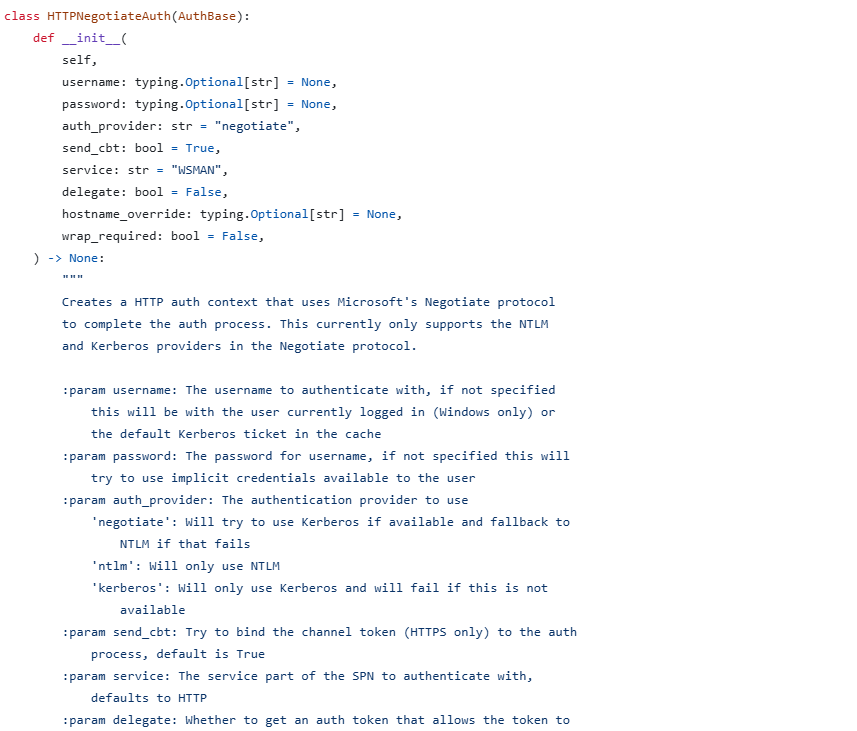
I can see the winrm class initializing some staff here
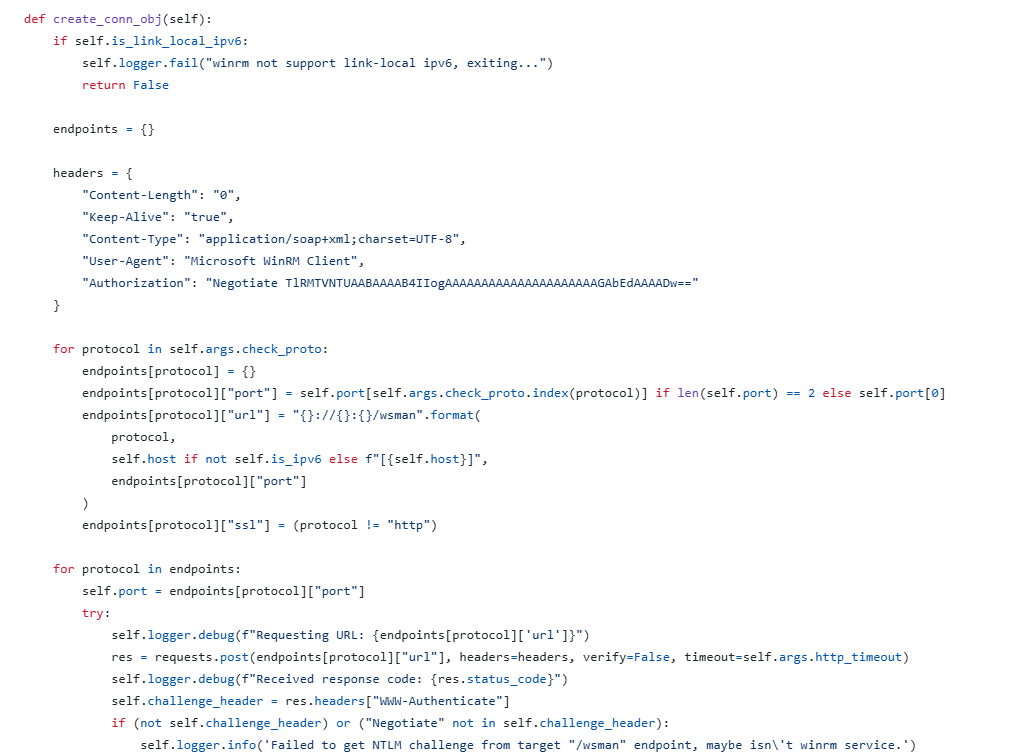
But our focus starts from this create_conn_obj() function, which starts the ntlm negotiation, but it is not completing it, it just does that to discover if winrm is even reachable and we have permission to reach winrm, so nothing interesting here since this is not the full authentication check
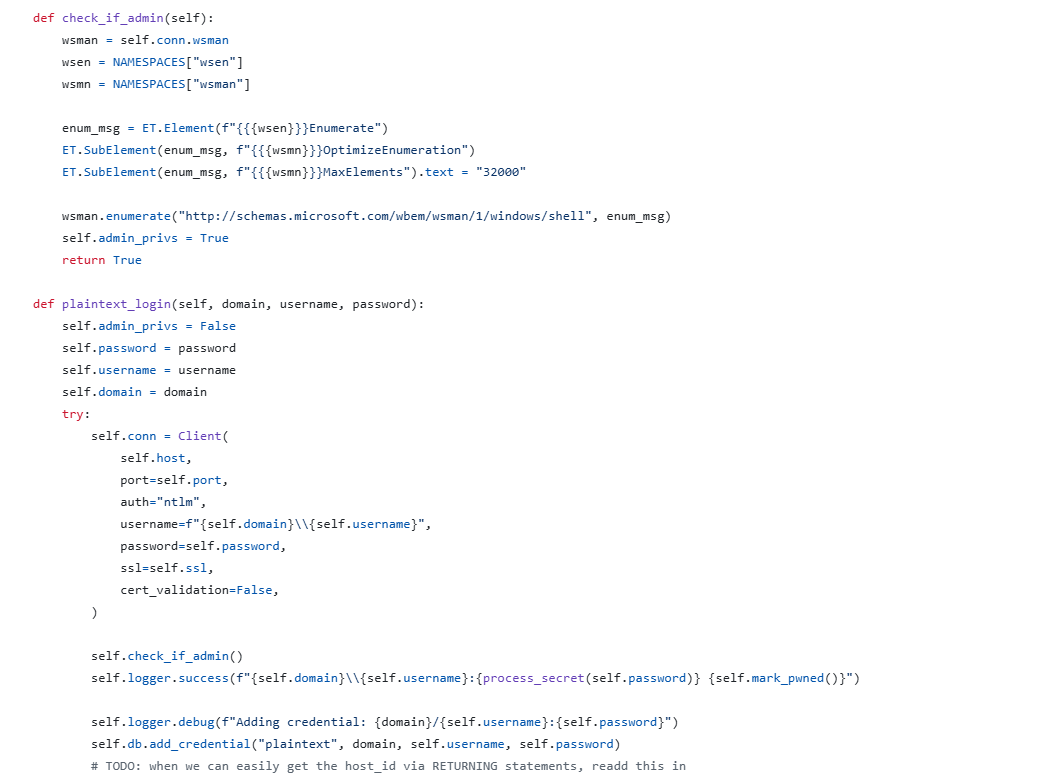
The full authentication check happens here, we can see conn.wsman and self.conn= Client, these are some external functions.

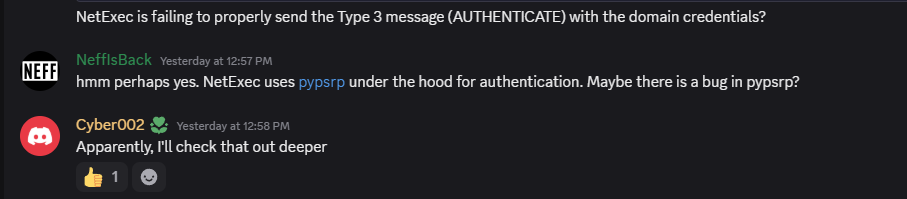
we can see that those are imported from the pypsrp library, so as the developer texted me, the core authentication does rely on the external library pypsrp.
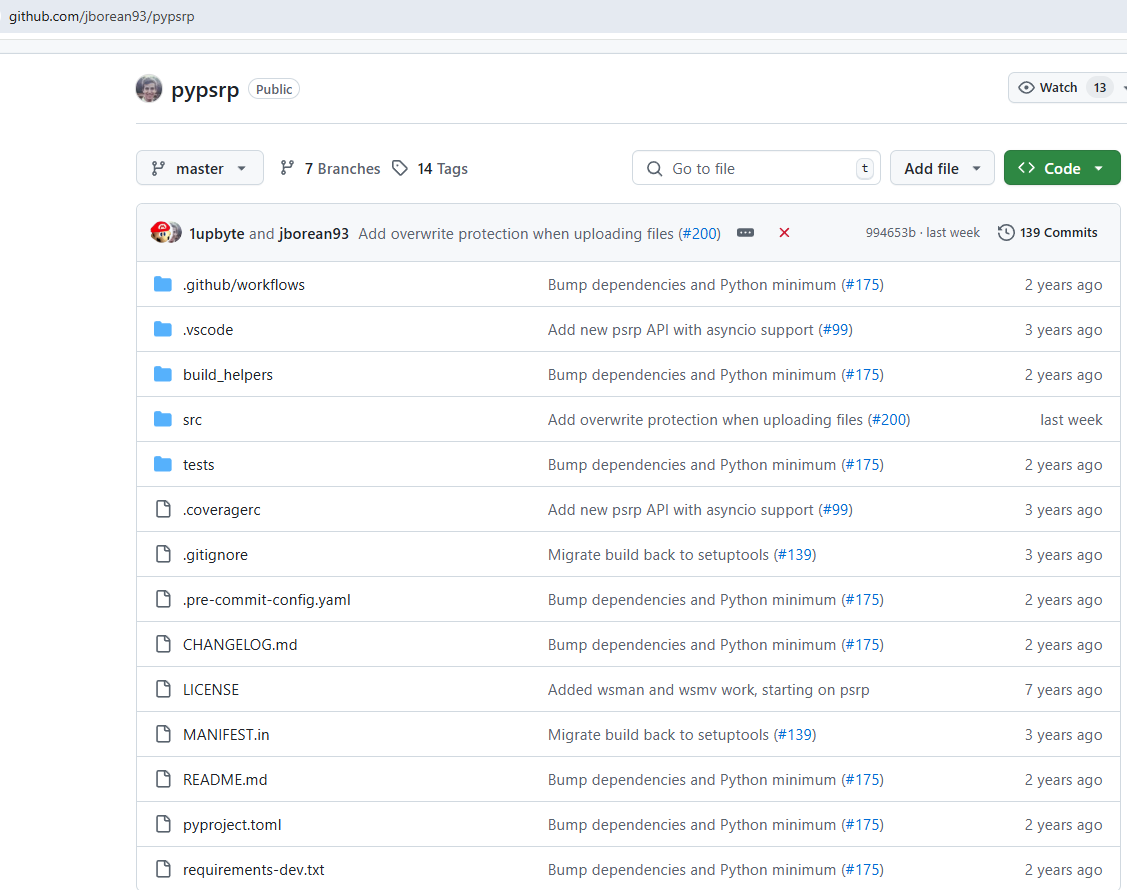
So this is pypsrp the seperate library netexec is using.
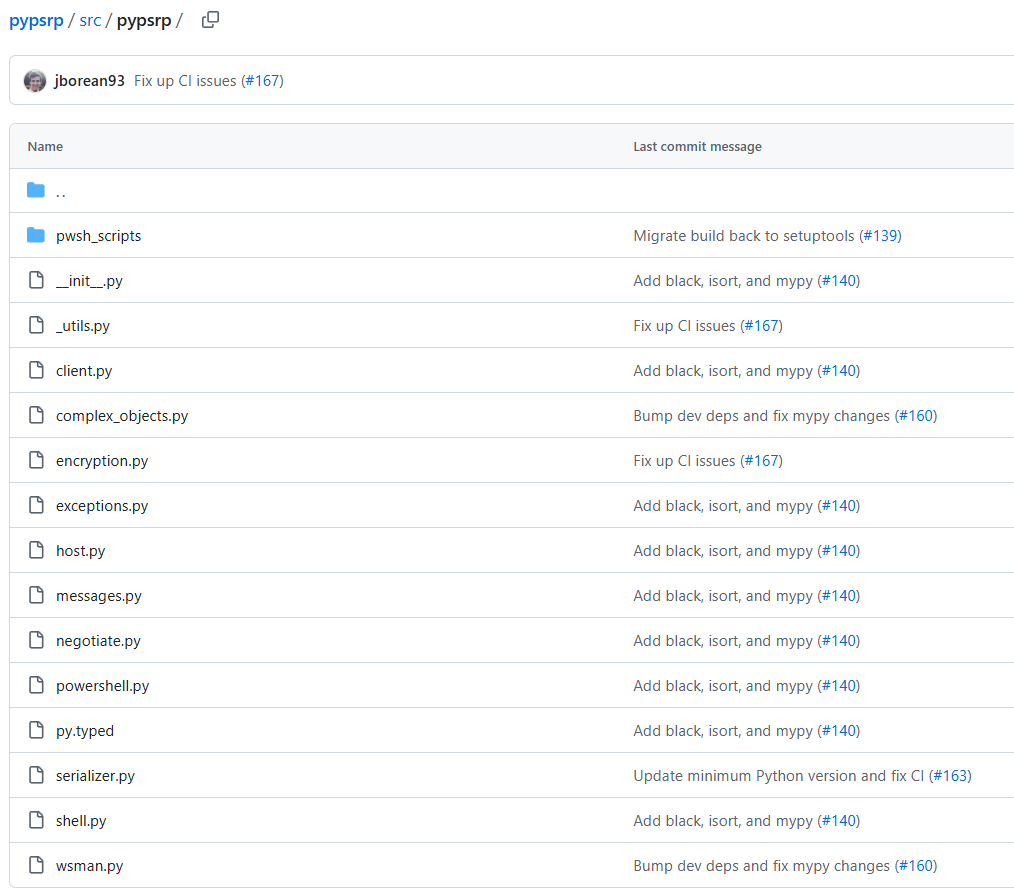
We can see in the pypsrp directory

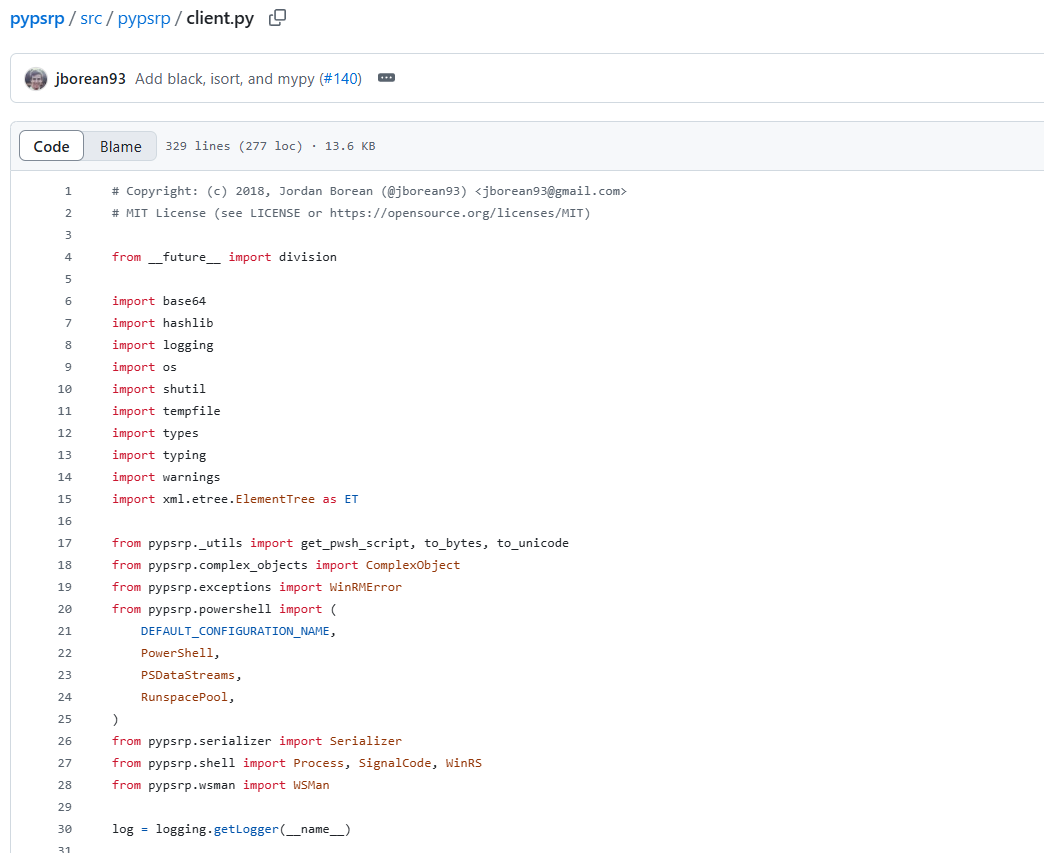
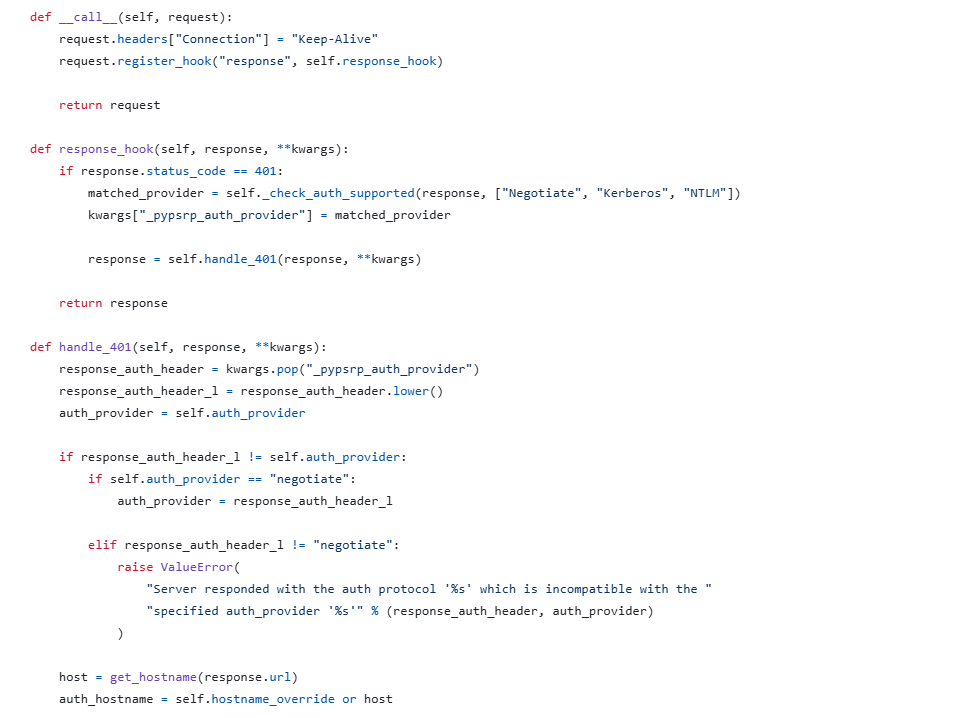
and we can see the client.py from where netexec is using the methods
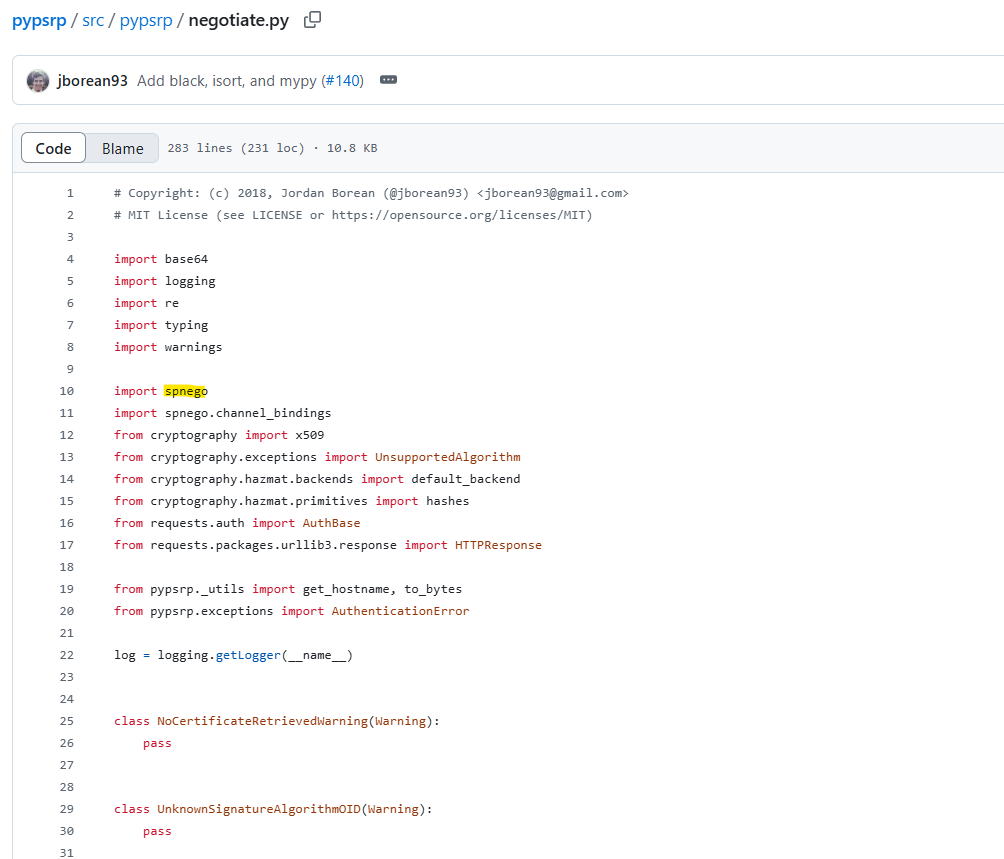
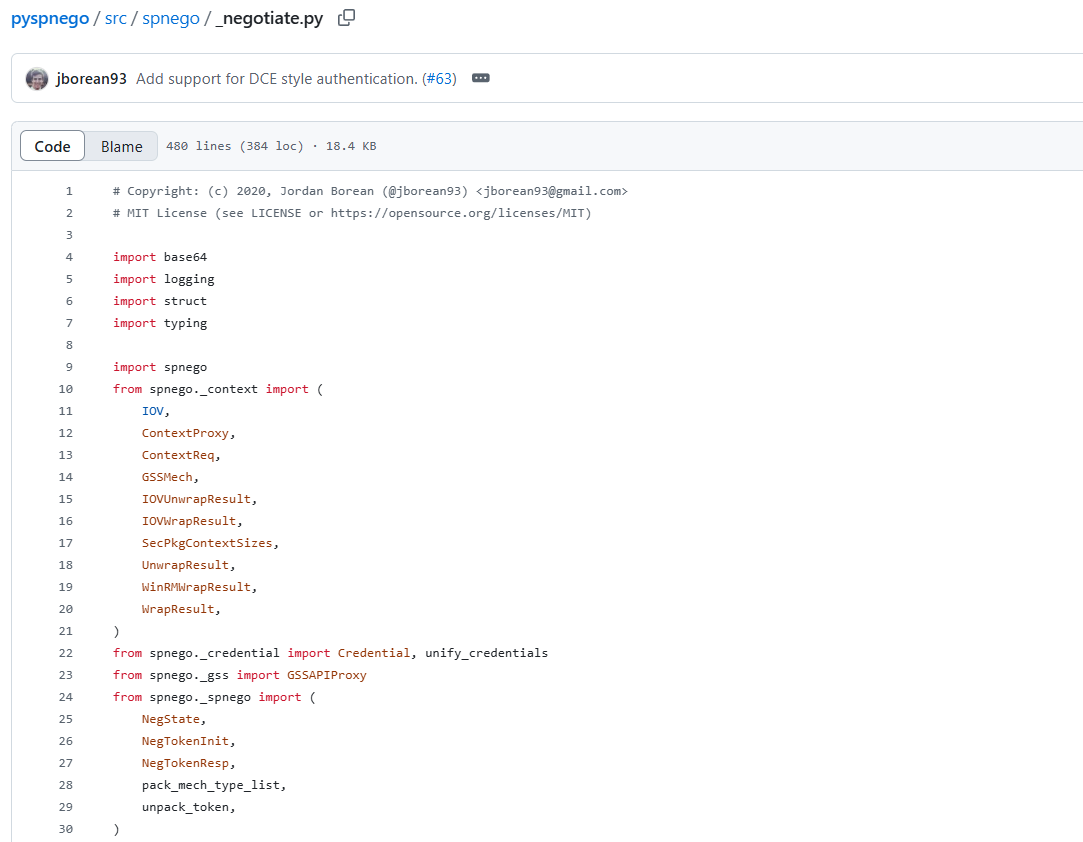
What’s even more important, the negotiate.py file, where the actual NTLM authentication is handled in pypsrp
And more importantly, the spnego library, which is the library running under the hood of pypsrp for the actual NTLM authentication.
So it is handling the parts of the authentication by taking the hostname, the protocol used and all, but not doing the actual authentication.
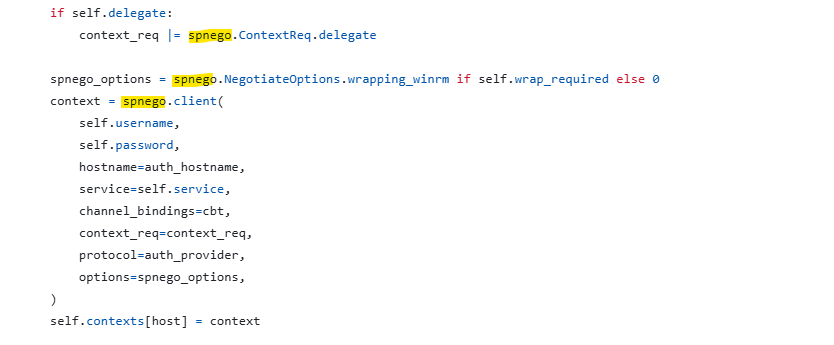
We can see it calling spnego for the actual authentication.
Below is the spnego library used

This is the library dealing with the actual low level authentication by sending the 3 stages of the NTLM authentication!
But first let’s do a network scan and see what is going on, plus compare the network scan of netexec with the one performed by evil-winrm.
Phase 2: The Packet Analysis
#deep_packet_analysis

What’s interesting is that evil-winrm and the script I created which uses the same libs used by evil-winrm that’s why we got the same results 200 response from the server after the 3 stages on the NTLM authentication.
Here is a quick summary for the NTLM authentication mechanism.
Client —> Server : NEGOTIATE_MESSAGE
Server —> Client : CHALLENGE_MESSAGE
Client —> Server : AUTHENTICATE_MESSAGE
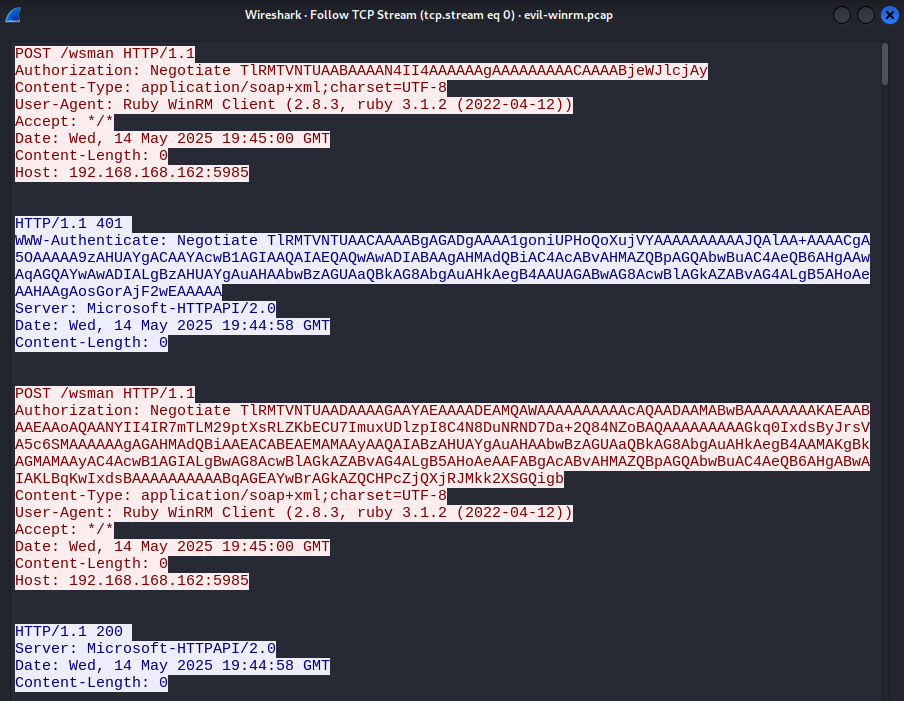
Following the TCP stream, we can confirm that.
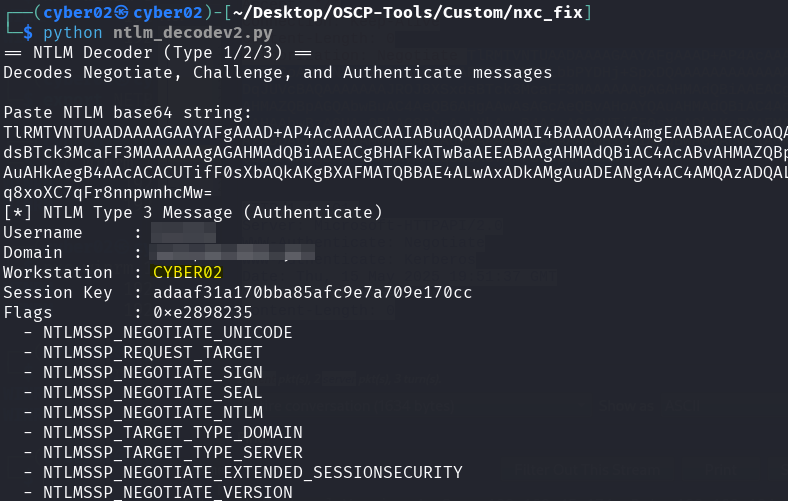
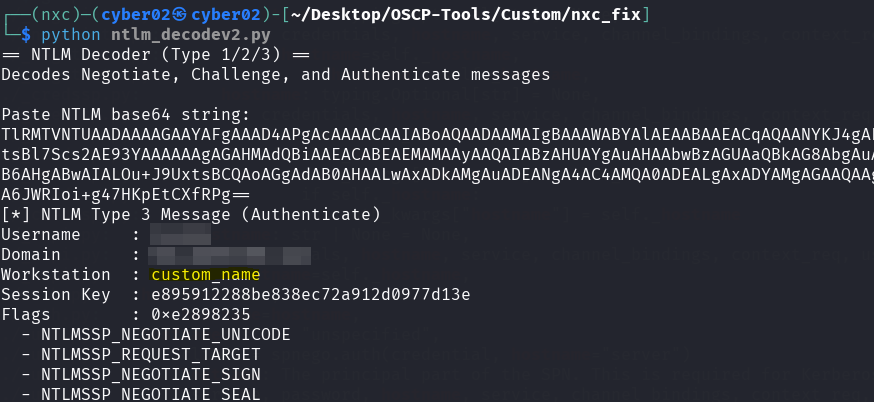
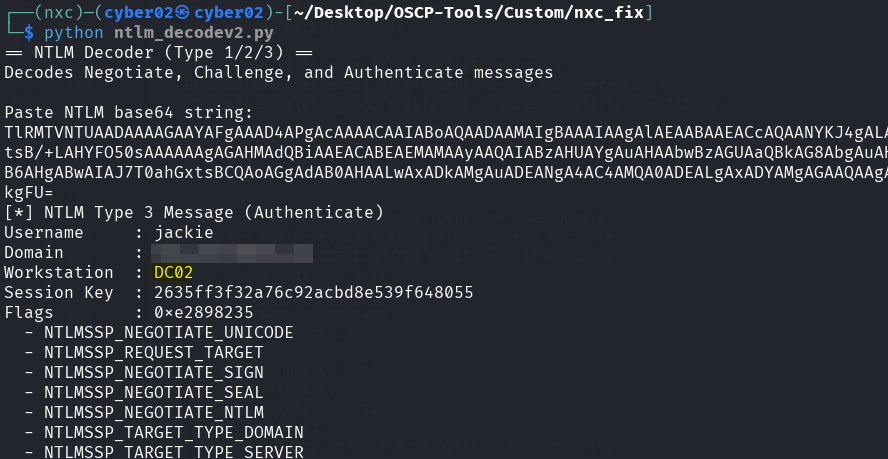
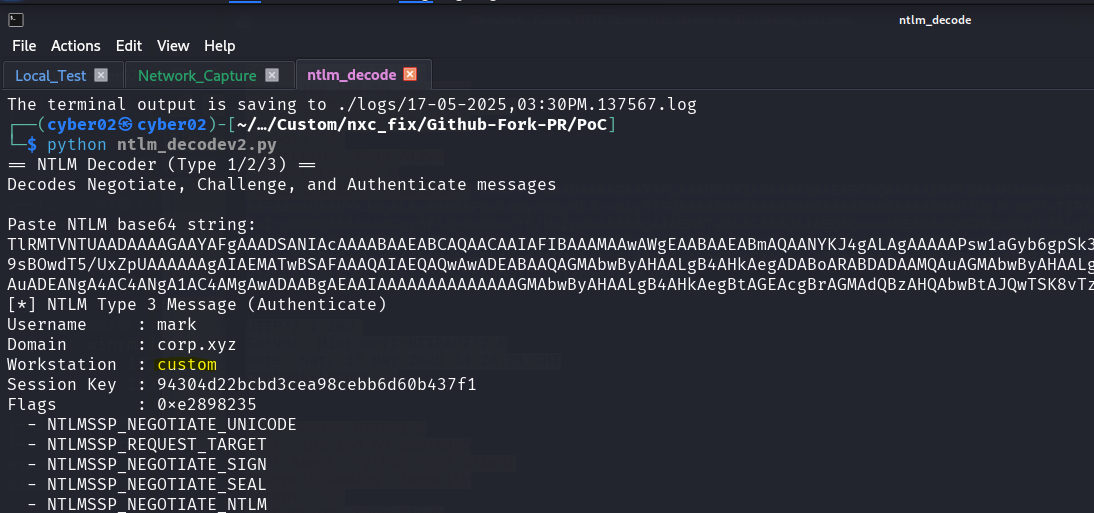
But we might also need to decode what is going on there, we created a custom tool for that to decode all 3 messages.
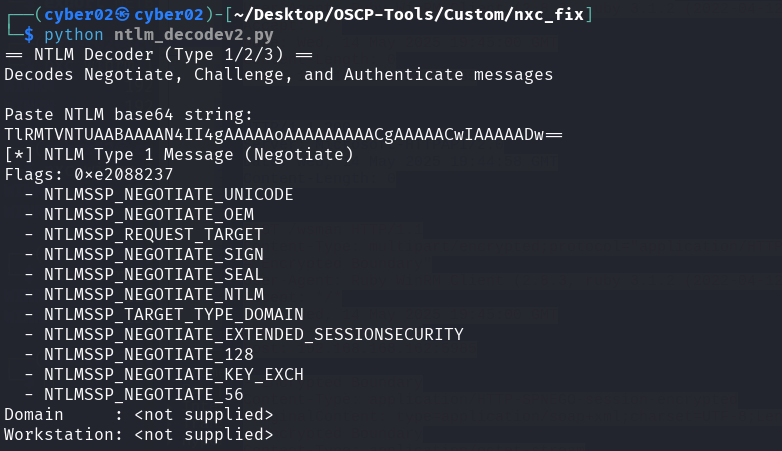
The whole exchange starts with the type 1 message, which is the negotiate message containing few flags.
Here is the NTLM Authentication Flow Simplified:
Type 1 - Negotiate (Client —> Server): What Client Supports.
Type 2 - Challenge (Server —> Client): Server responds with a challenge and its capabilities.
Type 3 - Authenticate (Client —> Server): Client sends encrypted credentials to complete the authentication (hash based response).
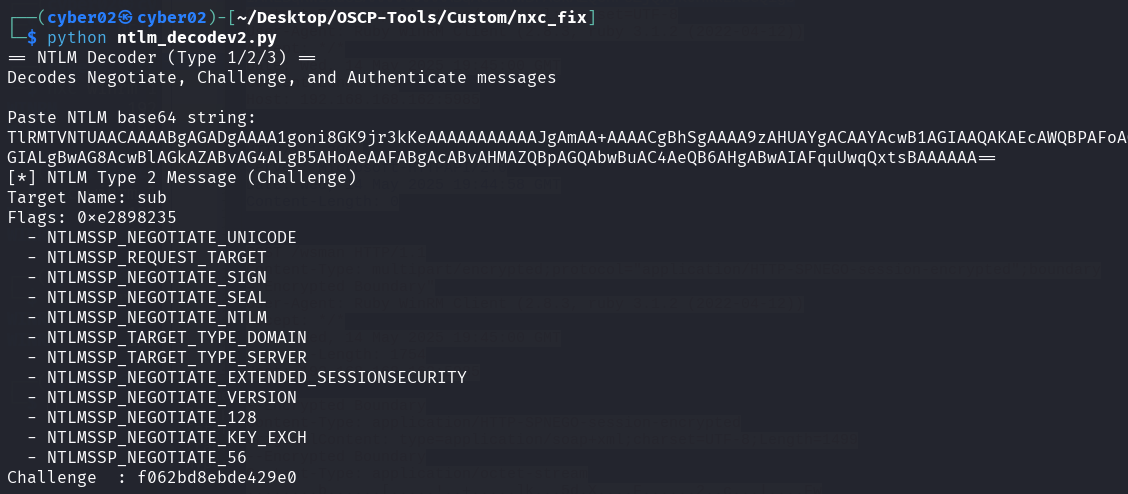
Next we have the message type 2, which is the challenge message, it contains the challenge sent by the server.
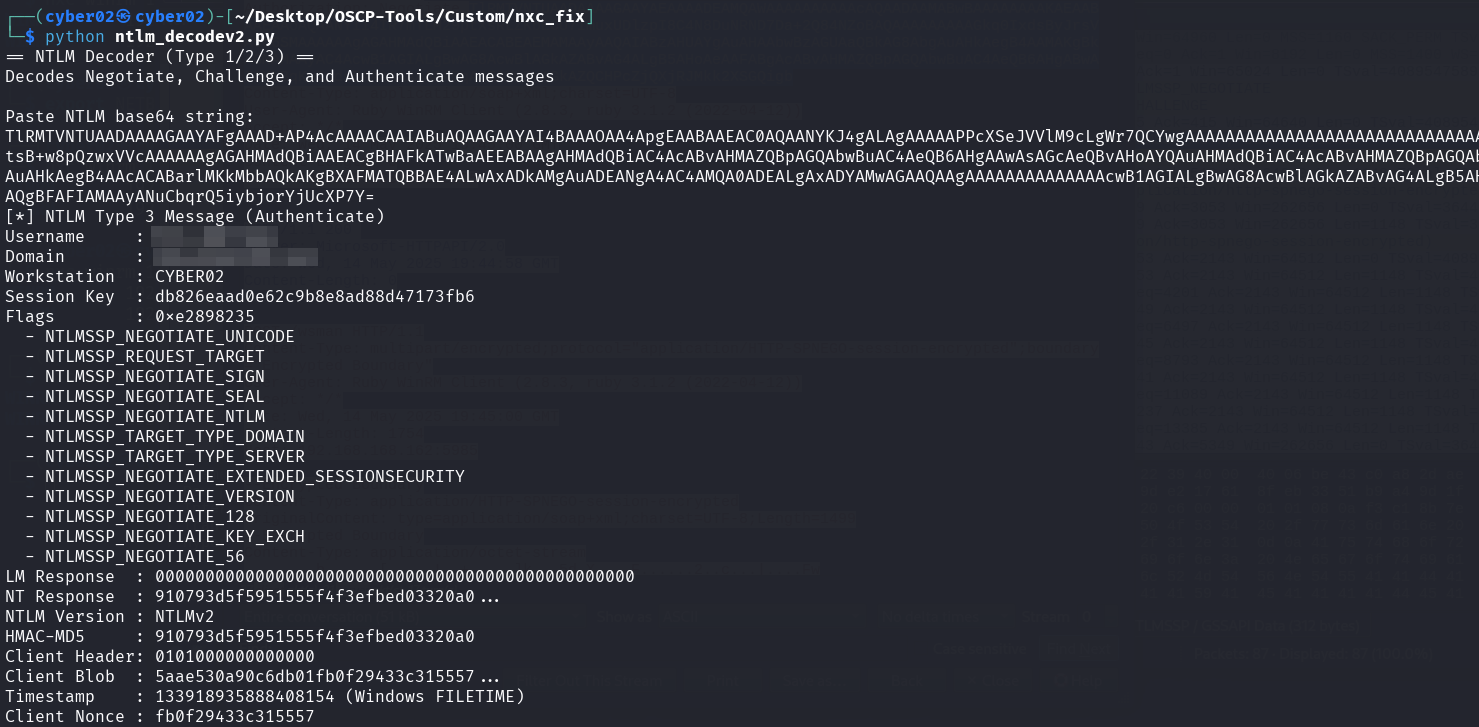
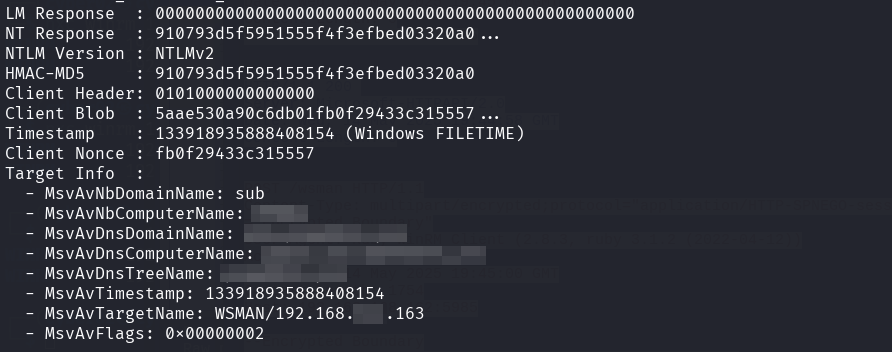
Then we have the last type 3 message, which is an authenticate message
Now the difference I found between the working vs non working authentication lies in the workstation field.
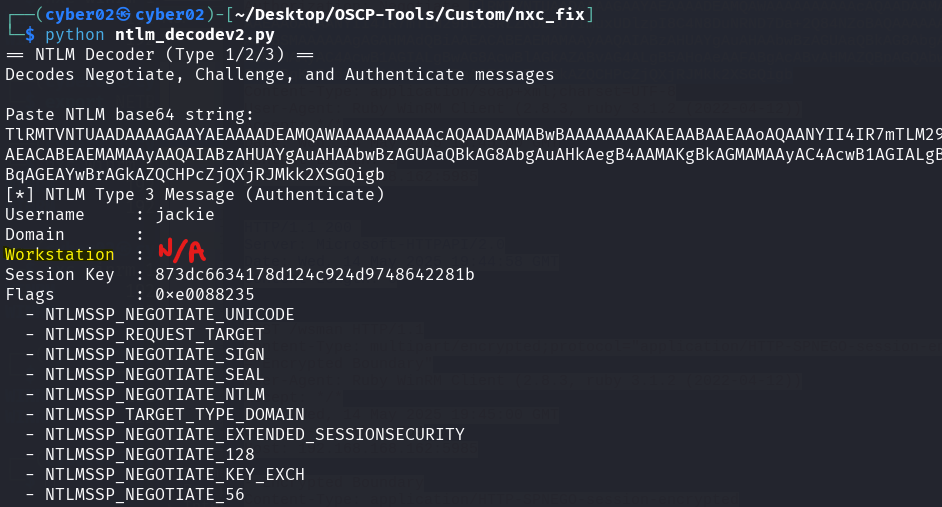
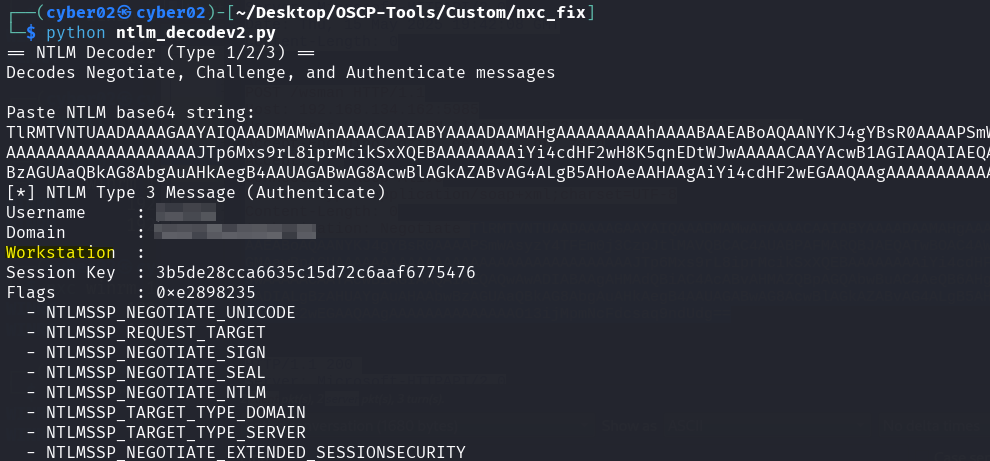
Evil-winrm and my script using the same logic as evil-winrm uses an empty hostname in the workstation field in the type 3 authenticate message.
While the other non working authentication attempts uses my Kali hostname in the workstation field.
While this works in some cases, some servers reject this authentication attempt, since the sender is not a known client or a client from the domain!
Now after getting the authentication to work using ruby, I wanted a python script so that I can fix the netexec script.
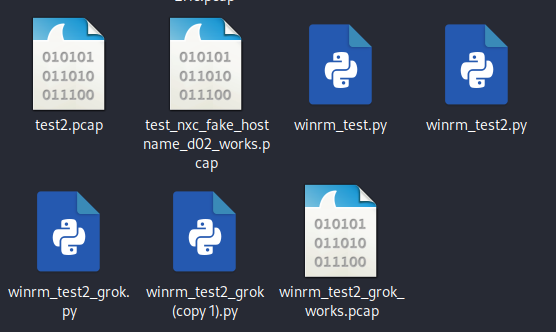
Grok provided me a clean code that worked!
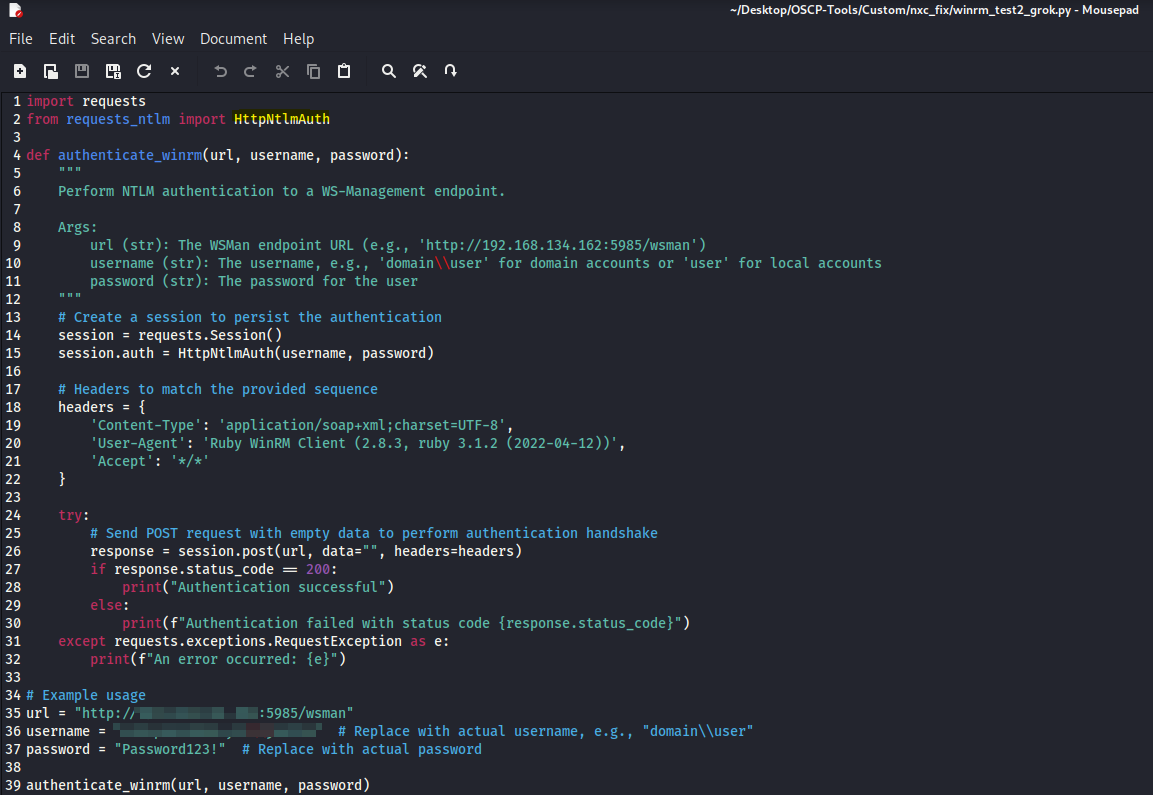
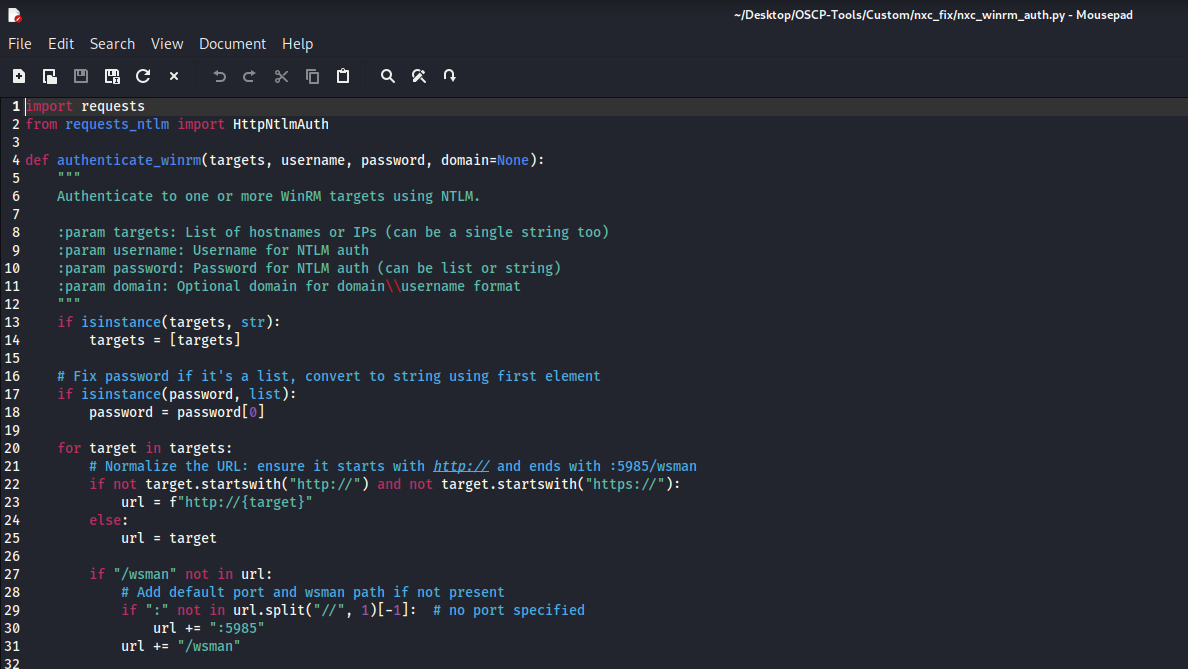
the code uses HttpNtlmAuth from requests_ntlm
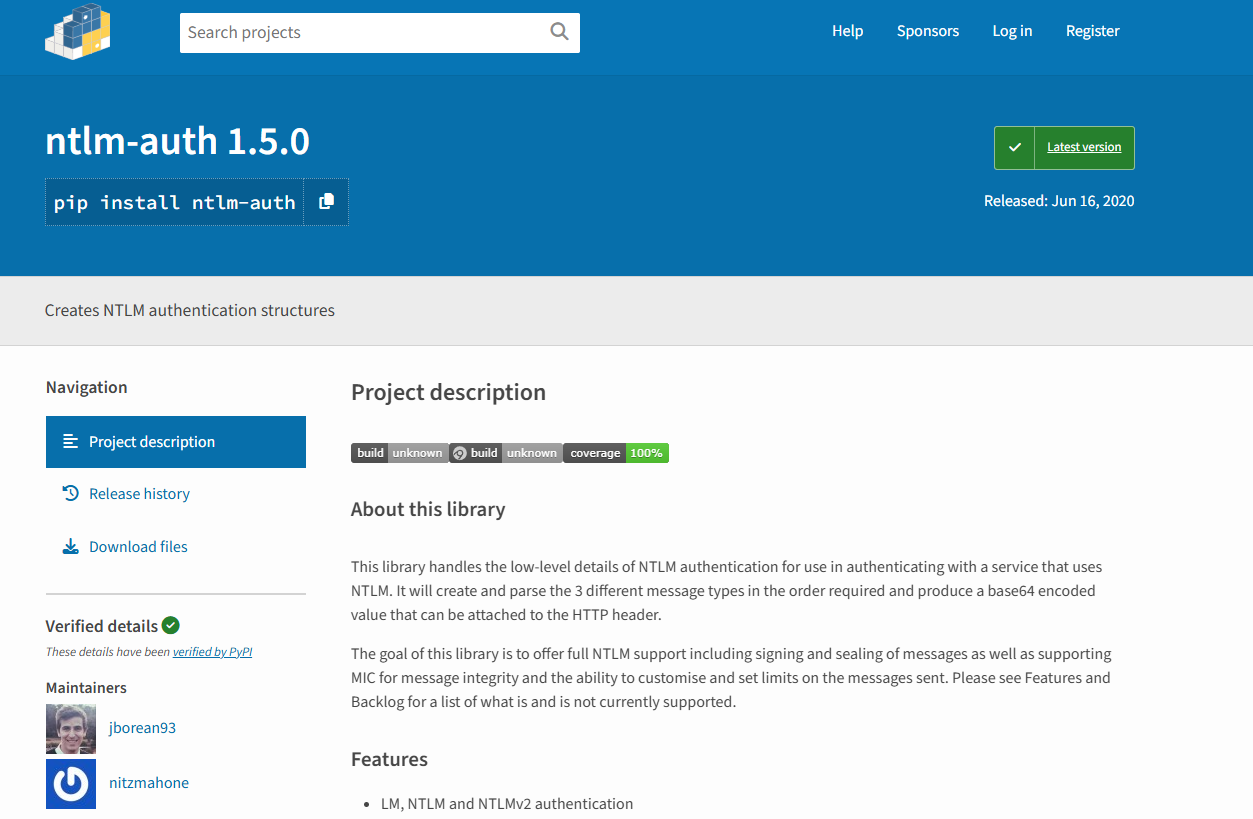
Which uses the ntlm-auth, the same one used by pypsrp
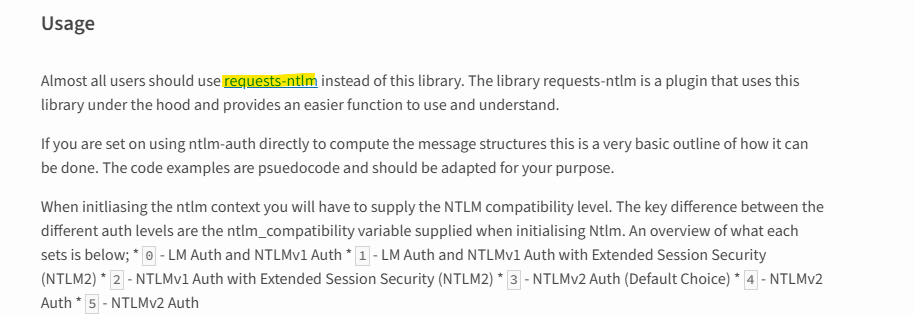
That requests-ntlm already uses ntlm-auth under the hood.

This is what the script used as an authenticate message, the key part here is the empty workstation field that made this work, and authenticate successfully to the server
As a fix I wanted to integrate my python auth code in netexec, but each time I use it I get 401 response, when I use it as a standalone I get 200 response but 401 response when inside netexec modules.
For the request inside the netexec modules it started including my hostname in the Workstation field again!
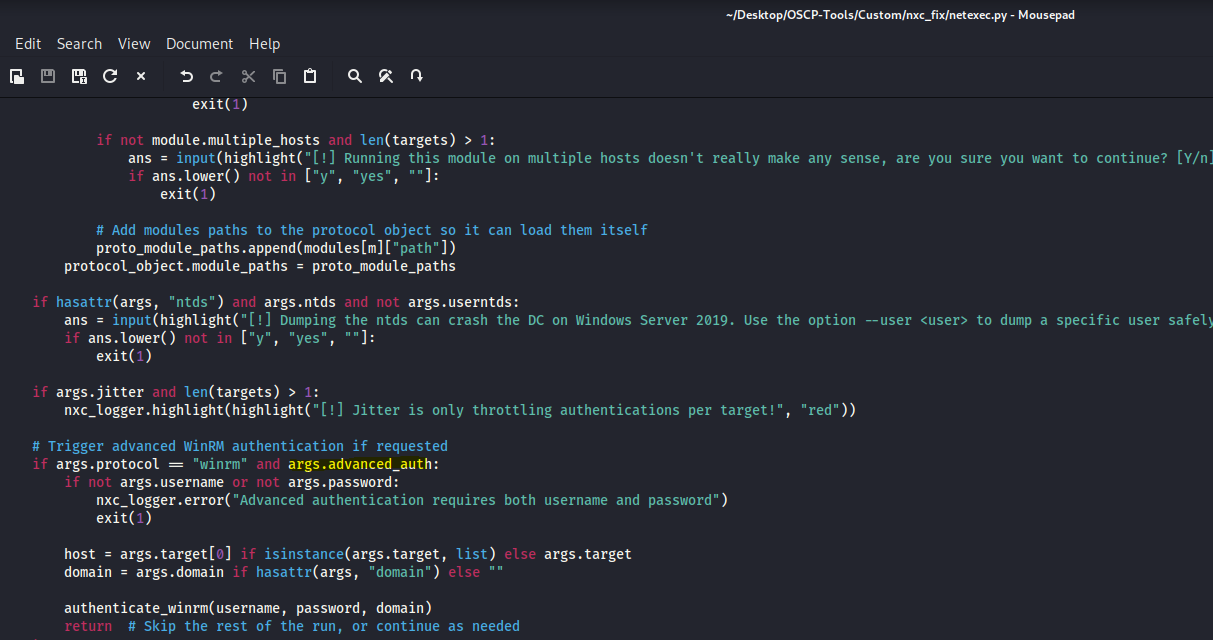
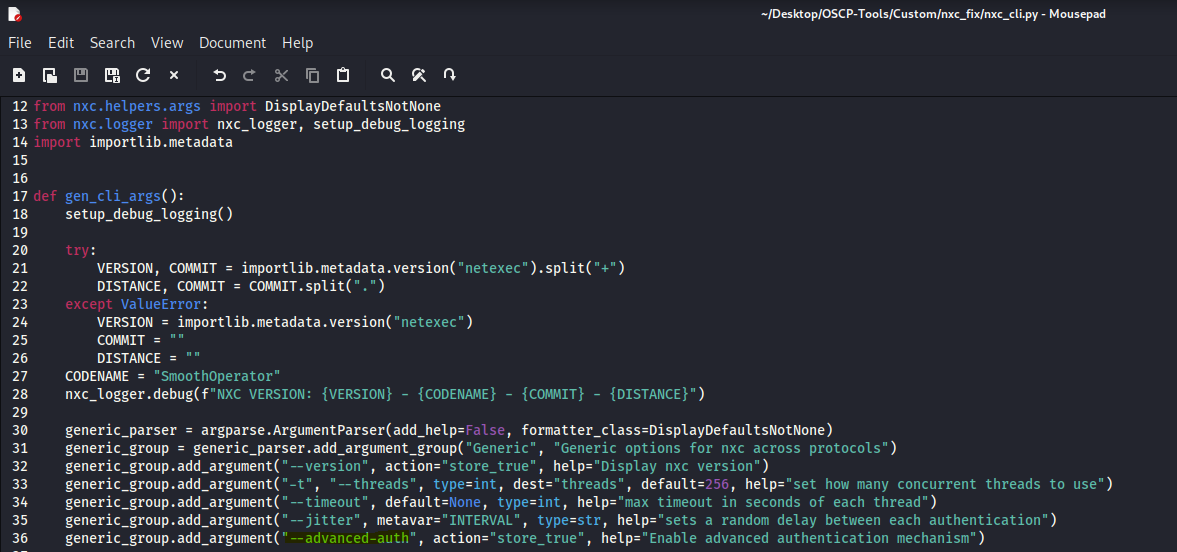
Then I tried using my script externally using a custom "--advanced-auth" flag by modifying netexec.py, cli.py, and a custom winrm_auth.py placed in the helpers directory
But same issue, always 401 response!
There is some component adding my hostname to the authentication!
I tried removing netexec modules, to isolate the issue, then I tried searching for socket.gethostname() which is the function getting the hostname of my local pc, I started tracing it from netexec module, to pysrp and reached spnego!
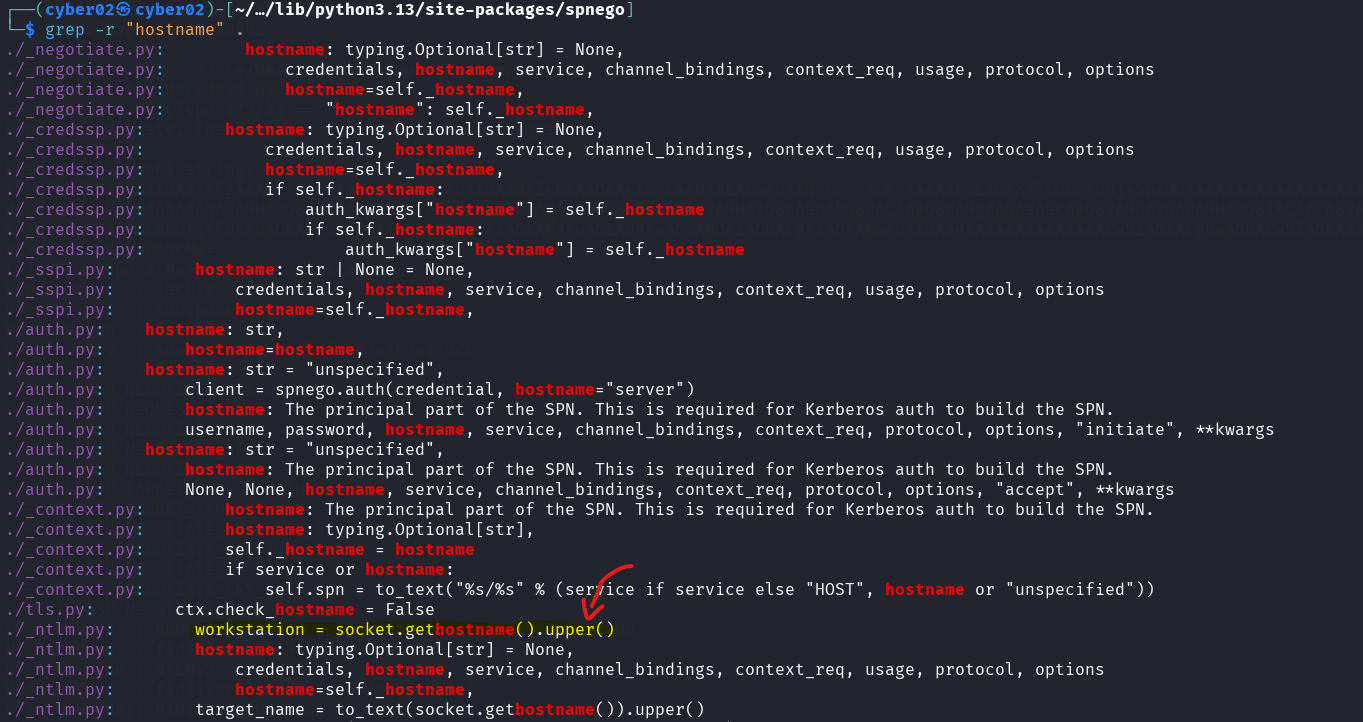
We always see our hostname in upper case too! so this is it!
Phase 3: Root Cause Analysis
This is present in the _ntlm.py function
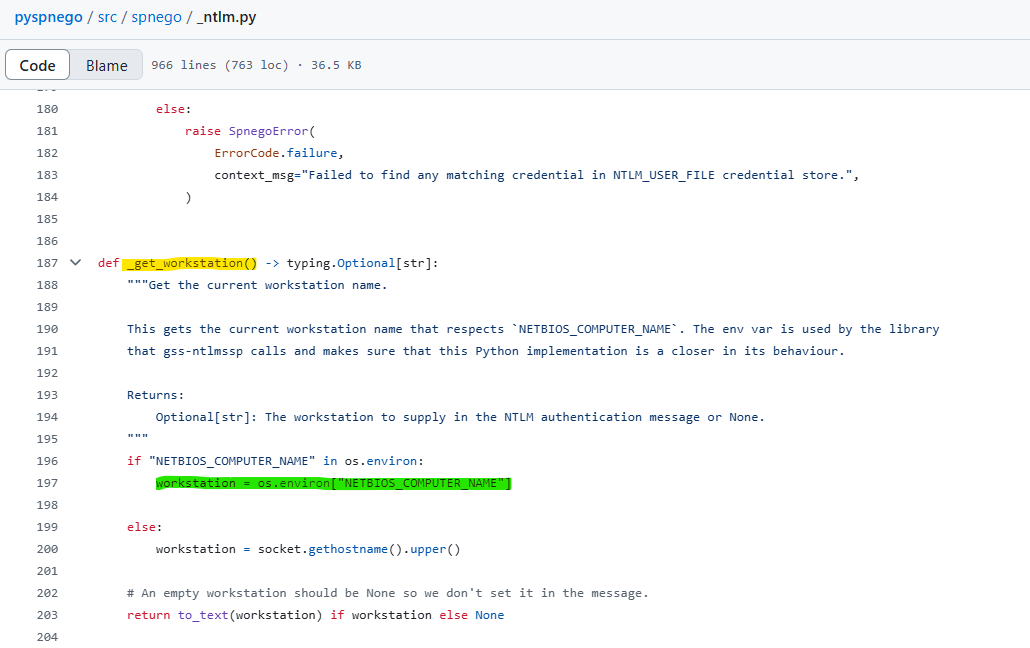
What’s interesting is that it first looks for the environment variable of our pc before attempting the socket.gethostname()
so we tested that!
before using our script we export NETBIOS_COMPUTER_NAME="dc02" (dc02 is the server we authenticating to, so if it sees an authenticate from dc02 spoofed hostname it thinks it’s authenticating to itself and obviously dc02 is inside the domain so it accepts, we also can export NETBIOS_COMPUTER_NAME="" it also works with empty workstation value, but just to be safe we include the server name better.
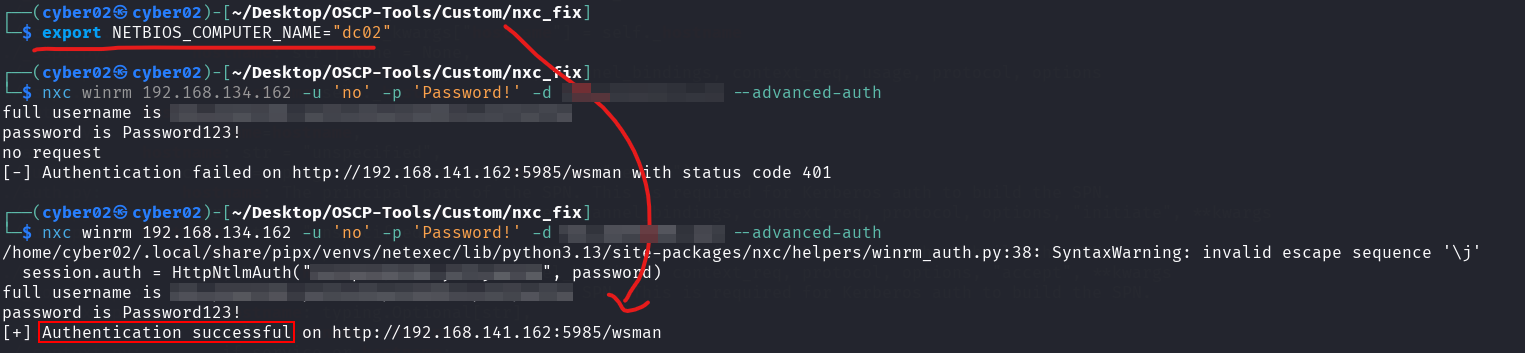
The authentication worked!
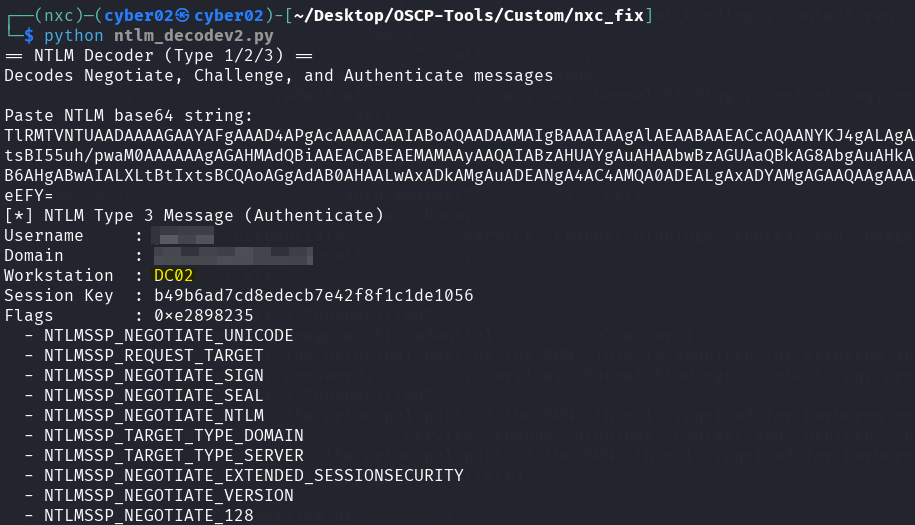
The workstation name also changed to DC02!

We even tried a custom name, got 401 and checked the request
Then while our env variable was set on d02 we tried netexec directly after a fresh reinstallation and it worked!
Phase 4: The Fix
So even netexec default authentication mechanism without any external script rely on the environment variable for that, which makes sense since it uses the same ntlm-auth library, so to permanently fix netexec, all we need to do is set the environment variable to the hostname of the target just before any instance of pypsrp, while authenticating
os.environ["NETBIOS_COMPUTER_NAME"] = self.hostname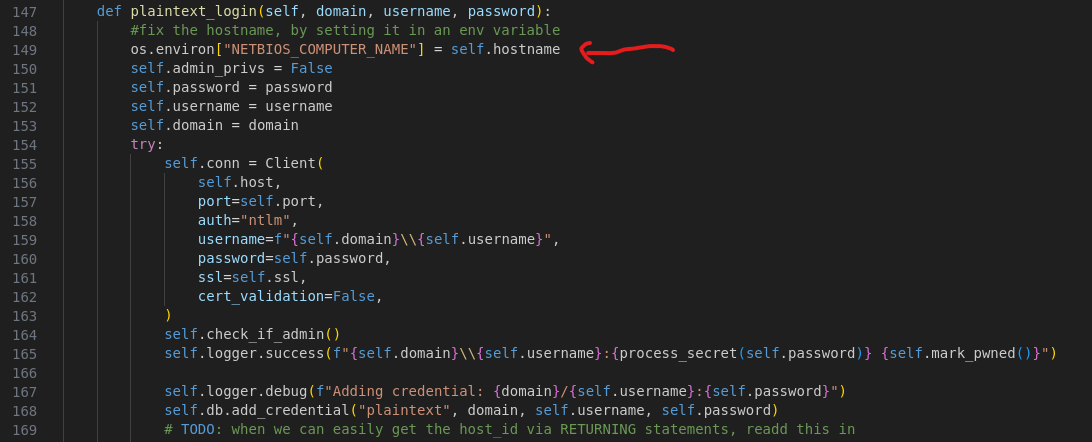
And our netexec false negative is fixed!
So without the need of manually setting the env variable NETBIOS_COMPUTER_NAME in each terminal, netexec automatically sets it to the server hostname that is already in its variable self.hostname.
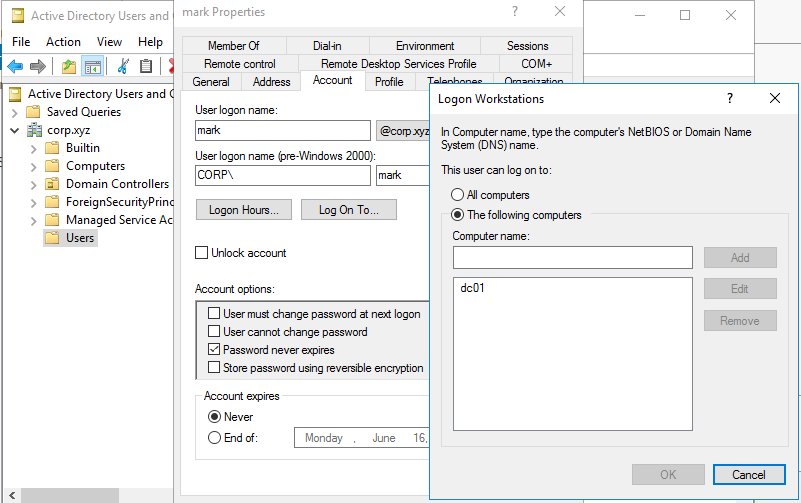
Phase 5: Reproduction and Validation
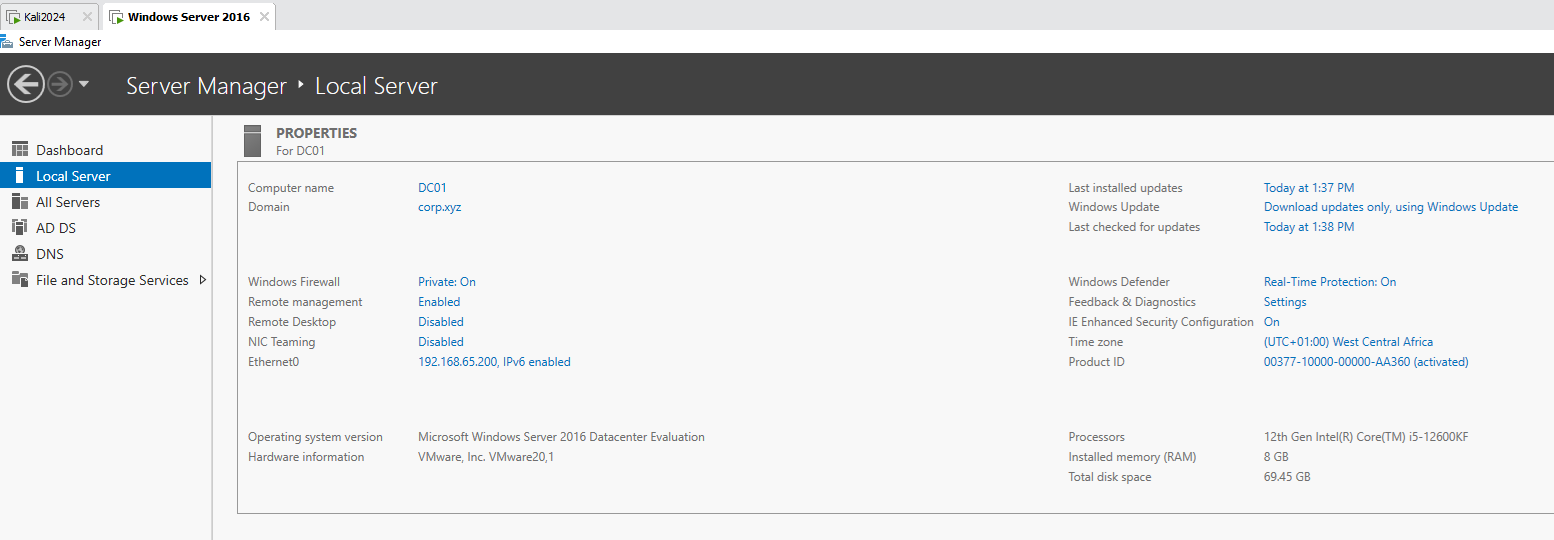
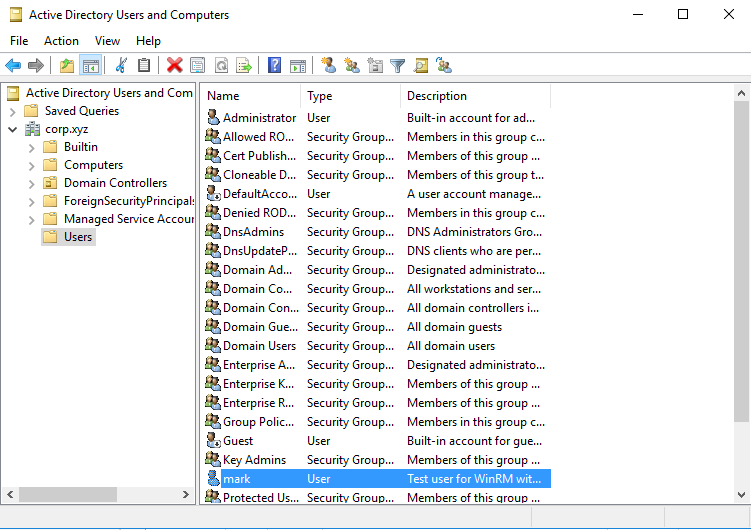
To confirm this theory without leaking OSCP lab data, I built a local lab. So I setup a windows server 2016 Active directory environement, using corp.xyz as the domain name, with the user mark and password “Password123!”
Lab Environment:
-
Server: Windows Server 2016 (DC01)
-
User: mark
-
Restriction: mark is restricted to log on only to DC01.
Then tried netexec using mark as the user
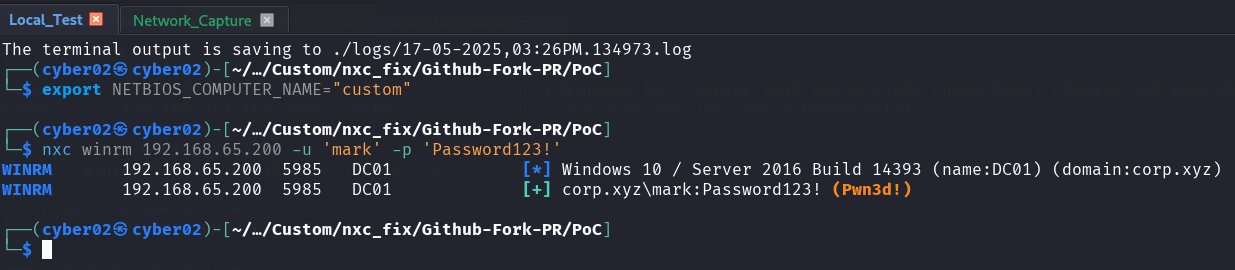
Even with the hostname set to custom, the user logs in successfully!

But what is the difference in config between the offsec server and my server that is making my server accept the authentication while the workstation field is set to custom!
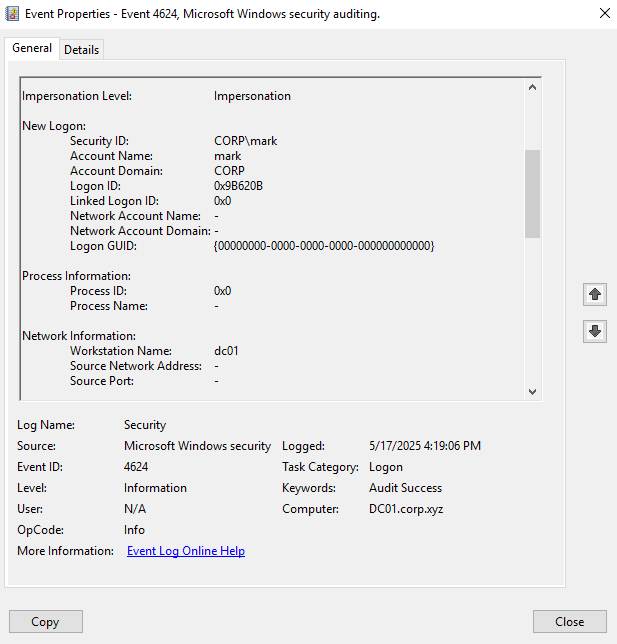
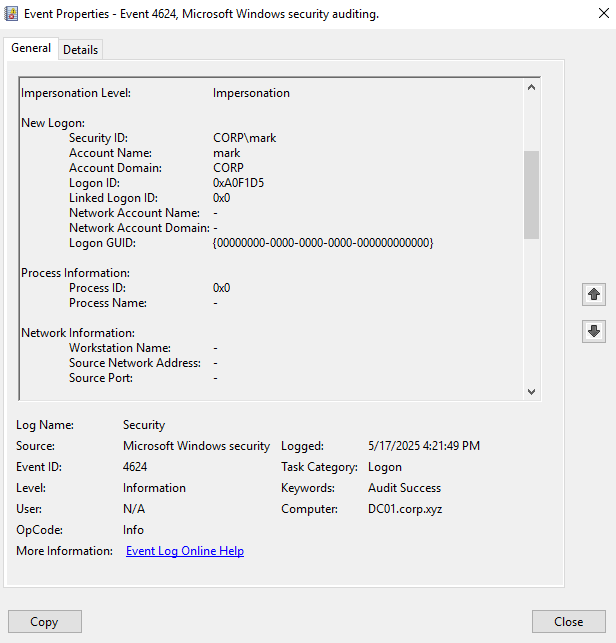
I tested an authentication attempt using a custom hostname and checked windows server’s event viewer

We can see the failed authentication attempt
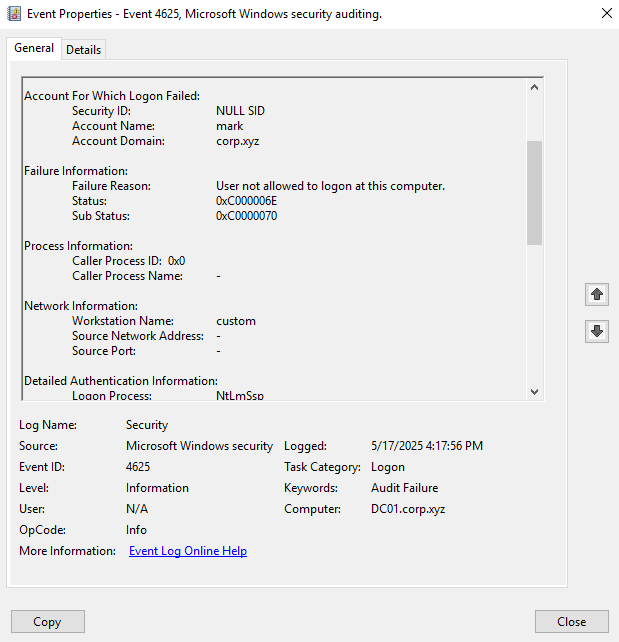
In the workstation name, we can see it captured our hostname or environement variable.
We can also see the exact failure reason

So the user can log in but not at this specific computer
I can now replicate the exact issue!
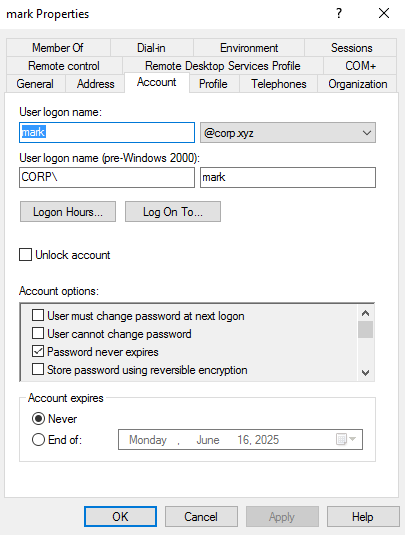
All I need to do is limit the logon computers to specific ones
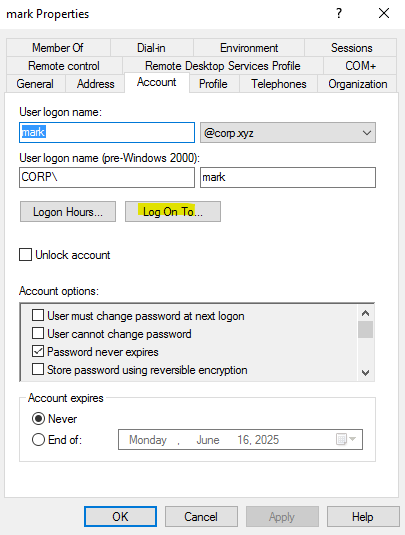
So the issue and the replication lies in the Log On To setting
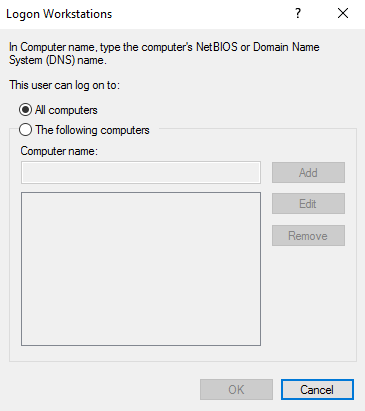
which by default allows all computers

So any computer name is allowed to log in, that is why netexec detects this as a valid login
but what happens when we enforce a specific name
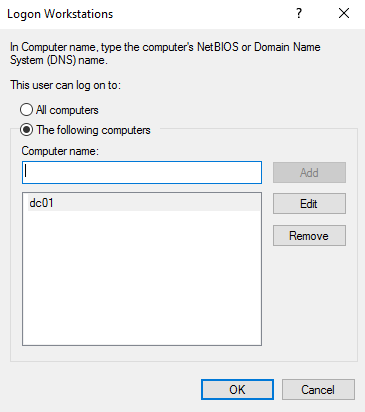
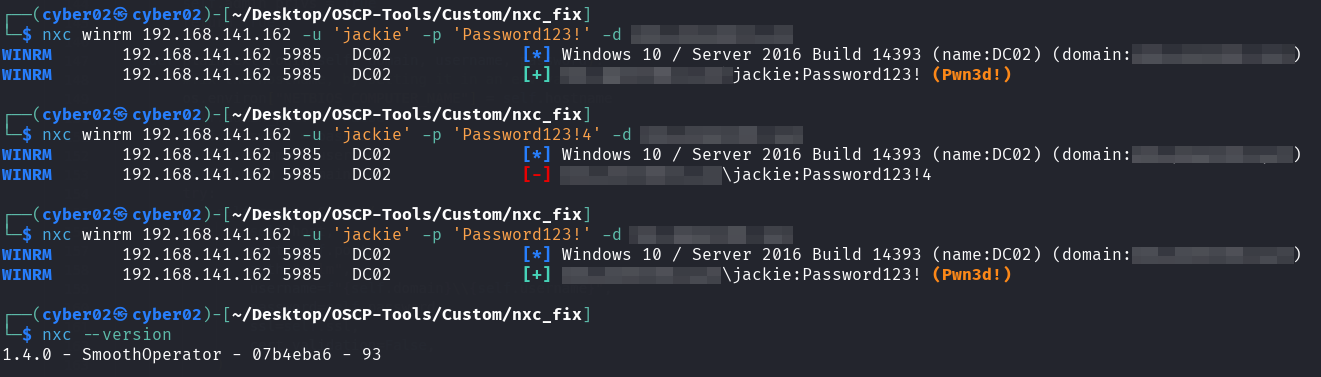
let’s try the authentication again
we applied the setting, let’s try to authenticate again (by default, if we do not specify an environement variable, it uses our current kali linux hostname using socket.gethostname() function in python which gives CYBER02 (my kali hostname))
export NETBIOS_COMPUTER_NAME="custom"nxc winrm 192.168.65.200 -u 'mark' -p 'Password123!'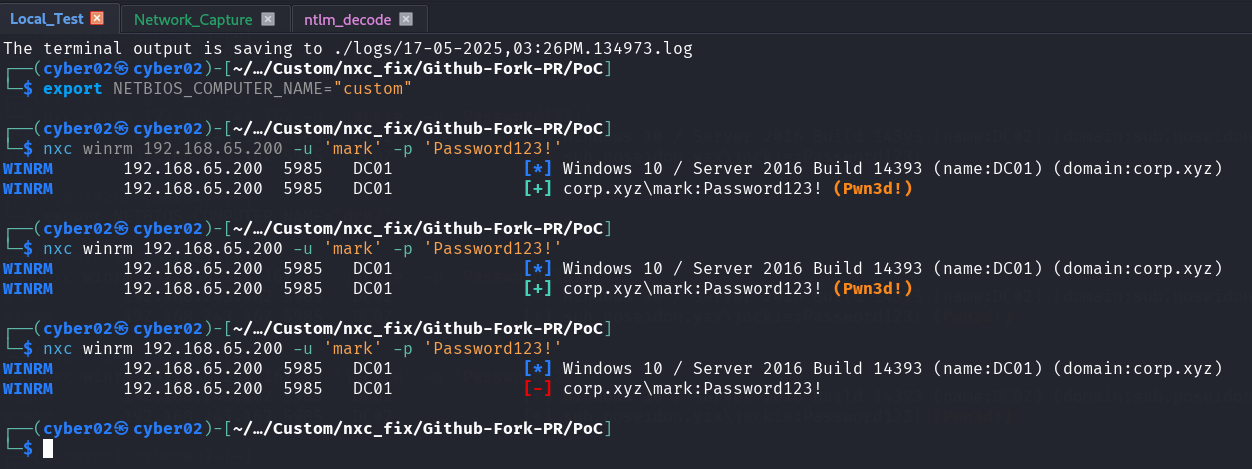
This time netexec login fails


let’s set our hostname to dc01 and try to login again with netexec
export NETBIOS_COMPUTER_NAME="dc01"nxc winrm 192.168.65.200 -u 'mark' -p 'Password123!'
now the login works fine!
what if we set our hostname to empty?
export NETBIOS_COMPUTER_NAME=""nxc winrm 192.168.65.200 -u 'mark' -p 'Password123!'
it also works fine!
Conclusion
#conclusion
This journey highlights the importance of understanding the protocols underneath our tools. A tool reporting “failure” doesn’t always mean the credentials are wrong; sometimes, it means the handshake didn’t satisfy a specific server-side policy.
By identifying the discrepancy in the NTLM “Workstation” field and patching NetExec to spoof the target hostname, we’ve turned a persistent false negative into a reliable win for the community.
Next Steps:
-
Update your NetExec via the Pull Request.
-
If you encounter WinRM failures on valid creds, check if your tool is leaking your local hostname!